What is Power Apps Studio?
Power Apps Studio is the main interface of Power Apps, where you build, design, and maintain your apps.
It is loaded with features that can help you build apps with little to no coding required.
Here are the features of Power Apps Studio and steps to access and utilize them for your apps.
Accessing the Power Apps Studio
To access the Power Apps Studio, log in to Power Apps using your licensed Power Apps account.
Once you have logged in, you will see the homepage.
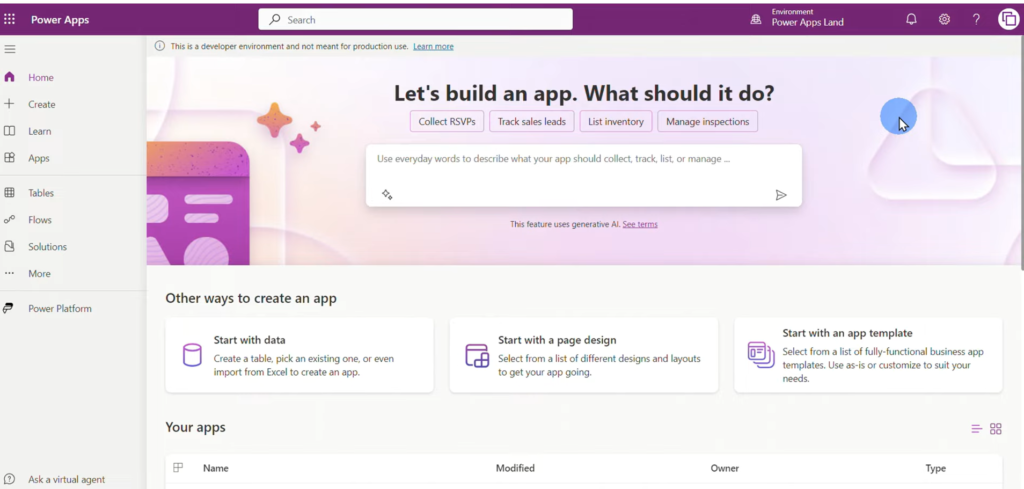
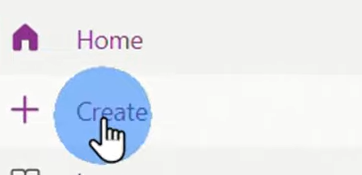
Click +Create.
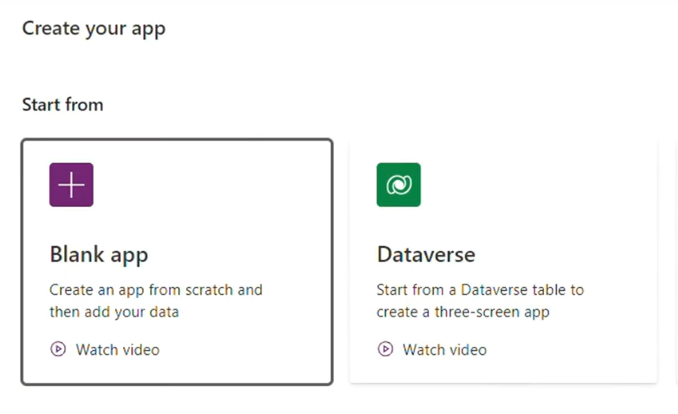
Click Blank Canvas App > Create.
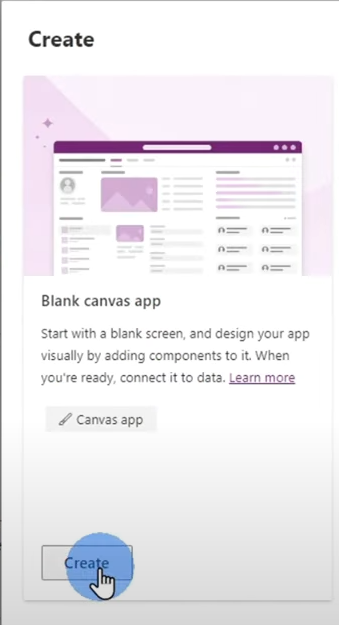
Add your app’s name to the App Name* field, then click Create. In this example, we named the app Studio Overview.
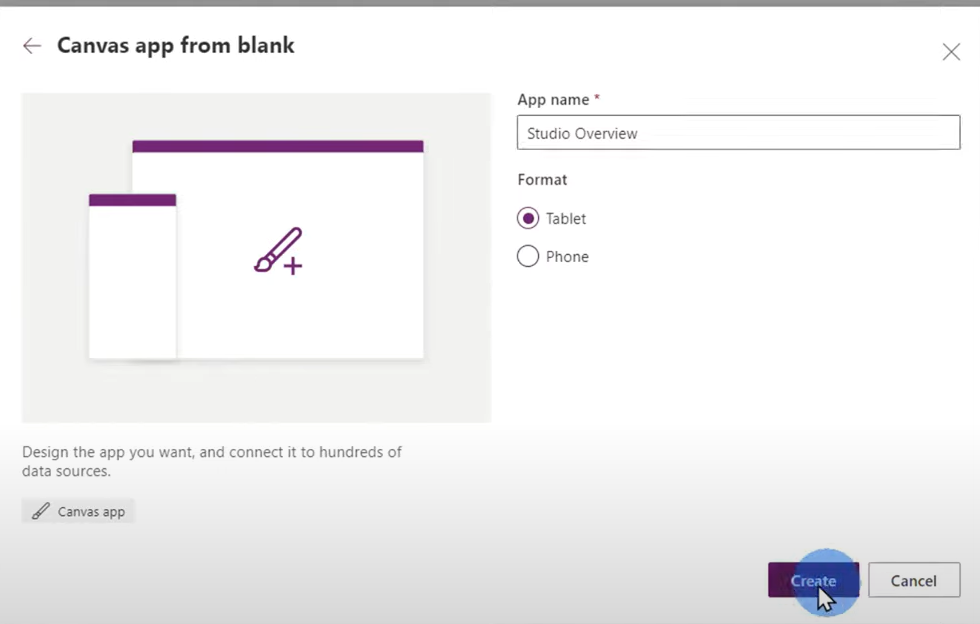
You should now be redirected to the Power App Studio interface, where you can start building your canvas app.
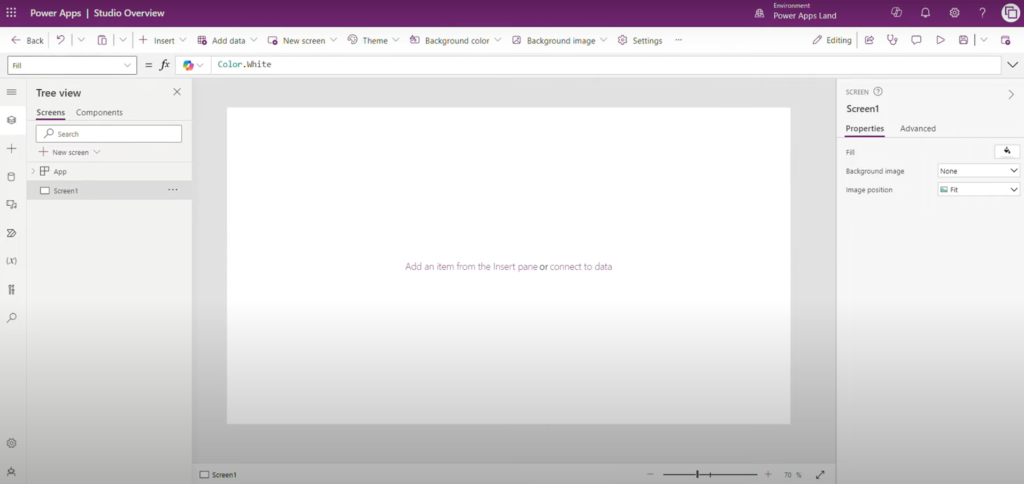
Command Bar

Back

Clicking Back takes you back to the Power Apps homepage, which is the first page you see after logging in using your Power Apps account.
Undo / Redo
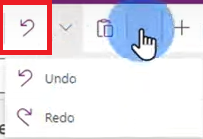
This feature allows you to undo or re-do a change you made on your application.
Paste
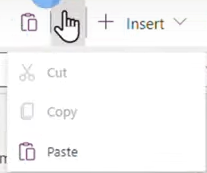
This menu allows you to cut, copy or paste items on to your application screen.
Add Data
If you want to add a data source to your application, click the Add Data menu and select either of the following:
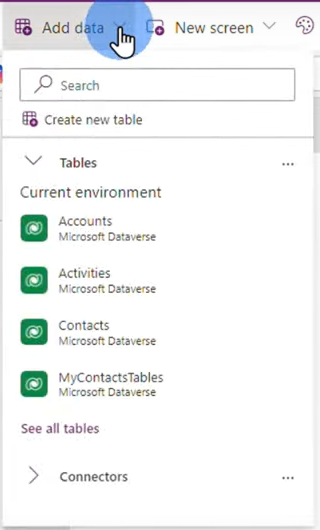
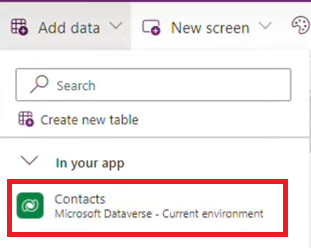
- Tables – This option allows you to add tables from Microsoft Dataverse. Select from the list of Dataverse tables for it to appear in In My App, which would become available for use on your application.
- Connectors – This option allows you to add data sources from other applications such as Microsoft Excel and PostgreSQL.
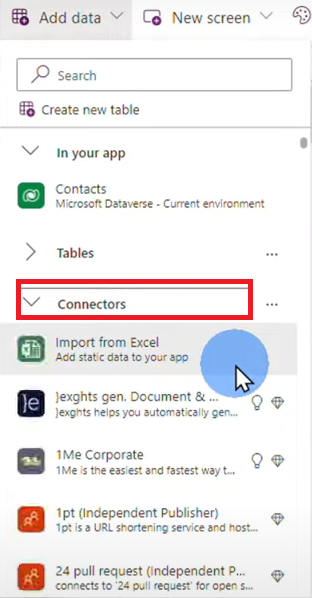
Please take note that connectors with the diamond icon requires a premium license.
Insert
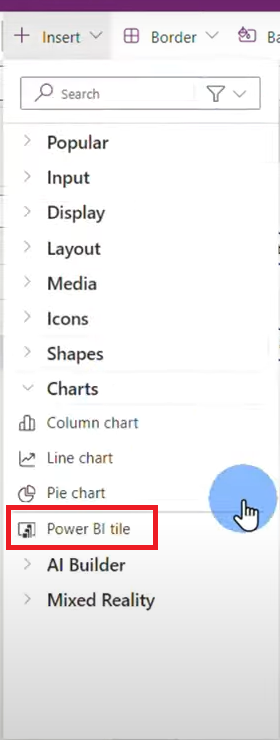
The Insert menu allows you to add components such as controls, text labels and shapes to your application screen.
You can use the Search field to look for specific components you want to add to your application.
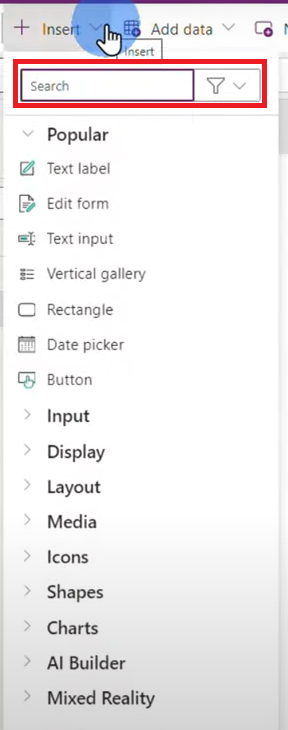
It also allows you to integrate PowerBI into your application by selecting the PowerBI tile from the Insert Menu.
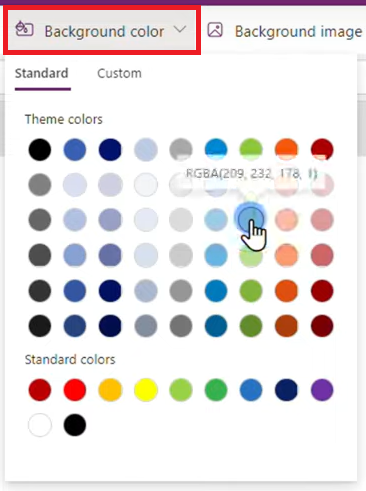
Background Color Background Image
You can personalize your app’s interface by adding a background color or a background image to a selected screen.
To do that, click the Background Color menu to change the color of the screen, or click Background Image to upload your desired image as the background of your application’s interface.
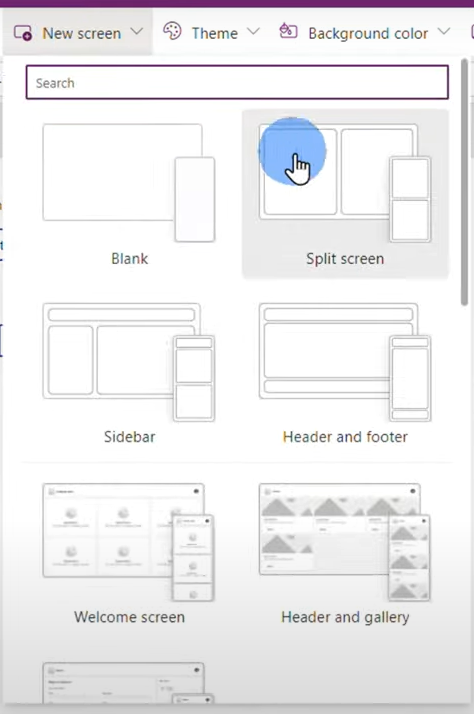
New Screen
The New Screen menu allows you to add a screen to your application. It contains several template options you can choose from.
If your app has multiple screens, you can toggle between your app’s screens by going to the Tree View and clicking the screen you want to view and update.
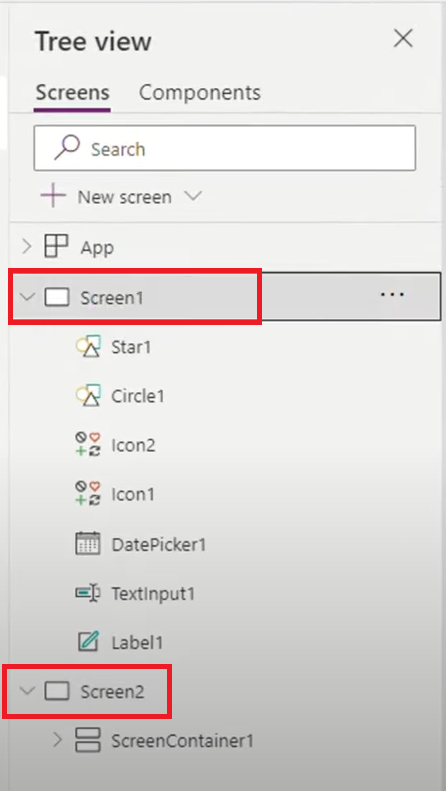
The Tree View also lets you toggle between components for checking and modifying.
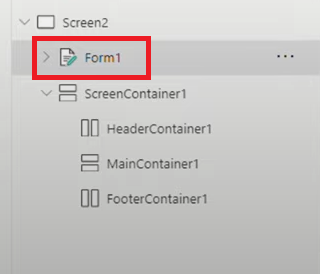
Any new component added to a selected screen will automatically appear on the Tree View under the screen you added them to.
In this scenario, we added form1 under Screen2.
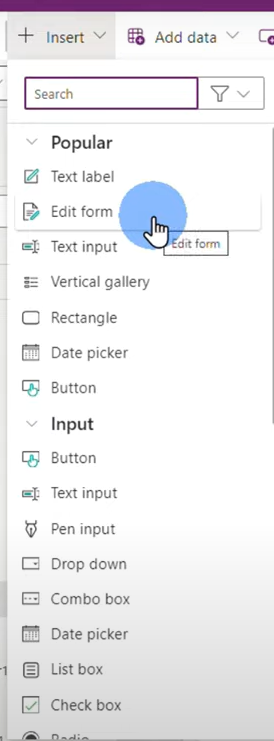
To add a form, click +Insert and select Edit Form.
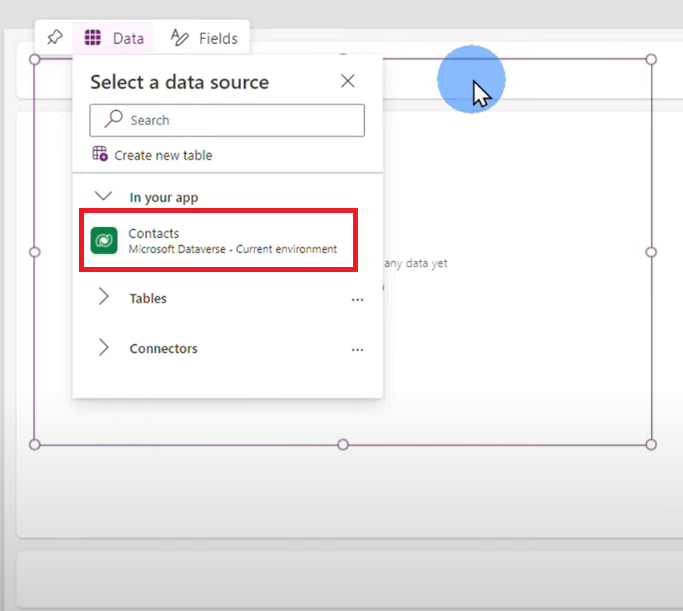
A text frame with the message “This form is not connected to any data yet” will appear.
Drag it to the center of the screen then click Data to add a data source. For this example, we’ll select Contacts.
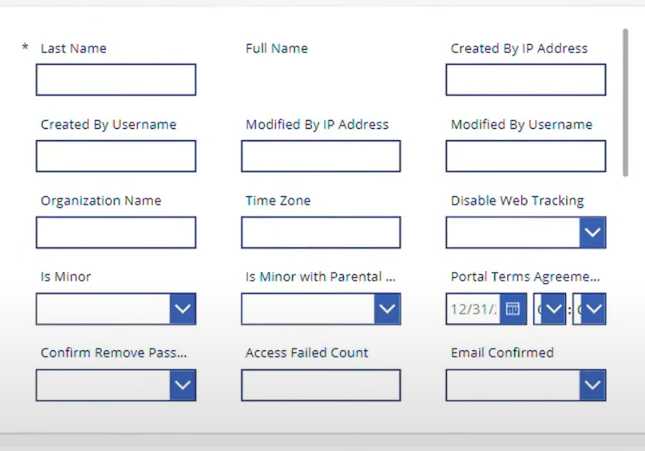
Once a data source is added, the fields are automatically generated based on the columns of the data sheet.
Top Right Menu

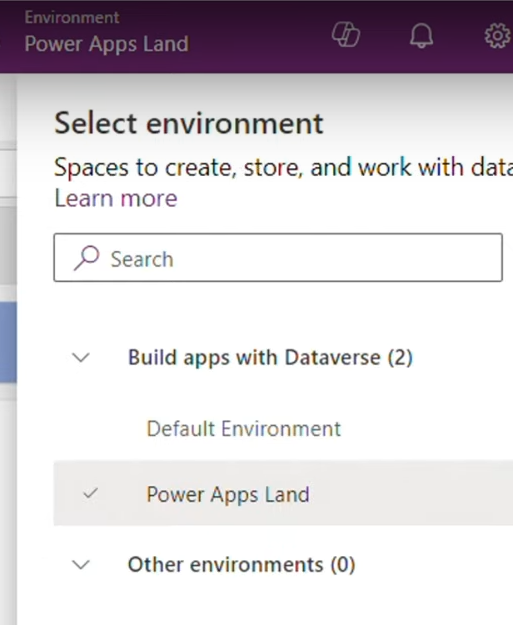
Environment
This menu allows you to select a space or environment where you can create, store or work with an app or data.
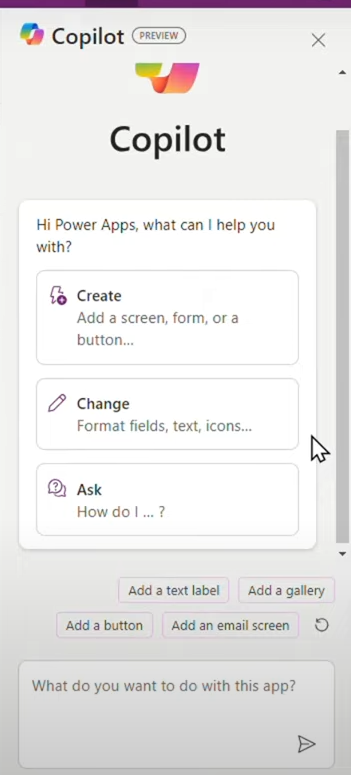
Microsoft Copilot
Copilot is Microsoft’s AI technology that can help you build applications.
It is integrated into the Power App Studio to allow you to create or modify an app easily through a text prompt or through a selection of prompt templates.
Settings
The Settings menu allows you to modify your Power Apps Studio interface with a selection of themes, or its security settings such as password protection.

Preview
The Preview button allows you to view the frontend of your application so you can test it out to see if all its components are running accordingly.

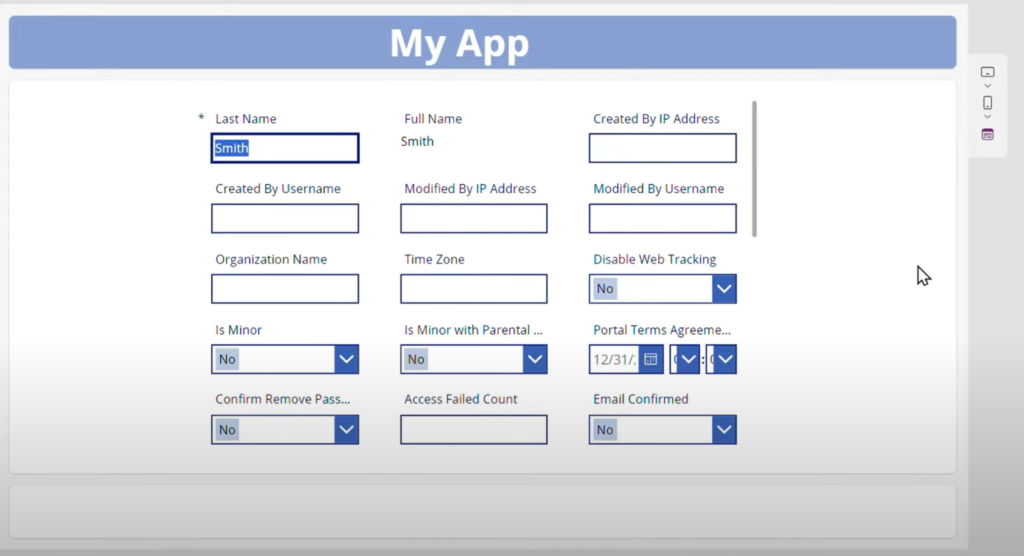
The three buttons on the right side of the screen allows you to see the application through a browser, tablet or mobile phone.

Properties Pane
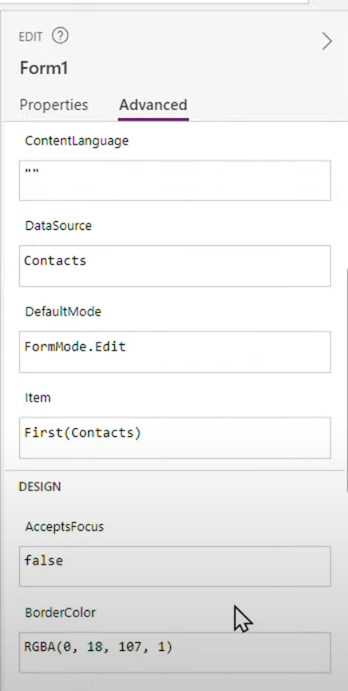
The Properties pane on the right side of the Power Apps Studio allows you to modify the components of your application.
On the main Properties tab, you can modify the display format of your application components. In this example, the header text of Screen2 was selected so you can edit the text’s font, size, weight, style and even color.
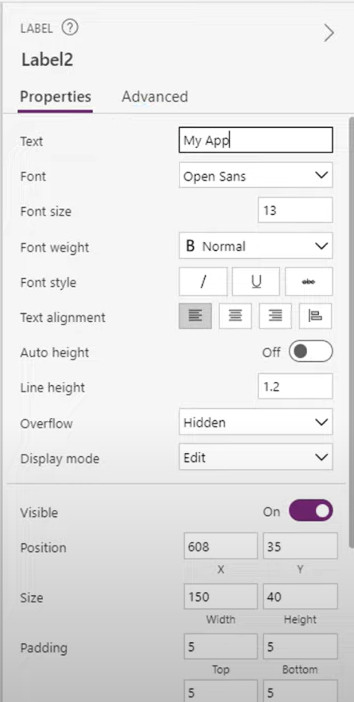
Options of the Properties pane are also available on the Properties drop-down menu on the top left corner.

When you click a field on the Properties pane, the field or component is also automatically selected on the Properties drop-down menu.
The Formula Bar will also show you the value you set for the specific property field. In this example, the Item field on the Properties pane is being updated.
You will see that Item is automatically selected on the Properties drop-down and the First(Contacts) value is shown on the Formula Bar.

Left Menu
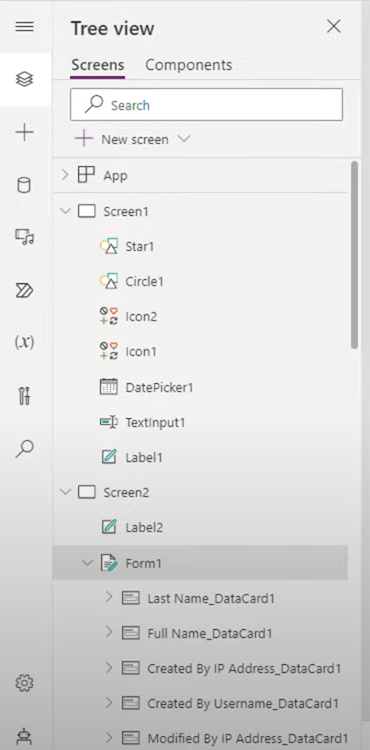
Tree View
The Tree view panel allows you to view and toggle between screens and their corresponding components.
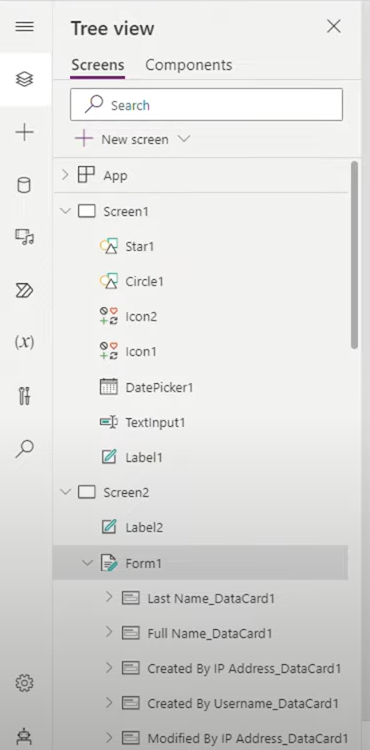
From the Tree View, you can select a component and it is automatically highlighted on your app’s screen and vice versa.
This will allow you to edit a specific component without it affecting the rest of your app’s features.
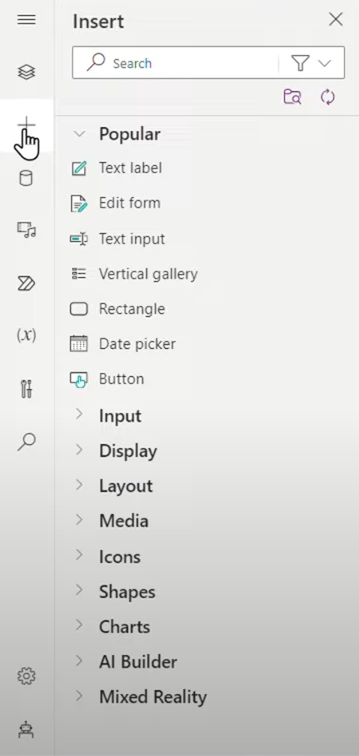
Insert
The Insert panel shows the same items as the Insert menu on the Command Bar.
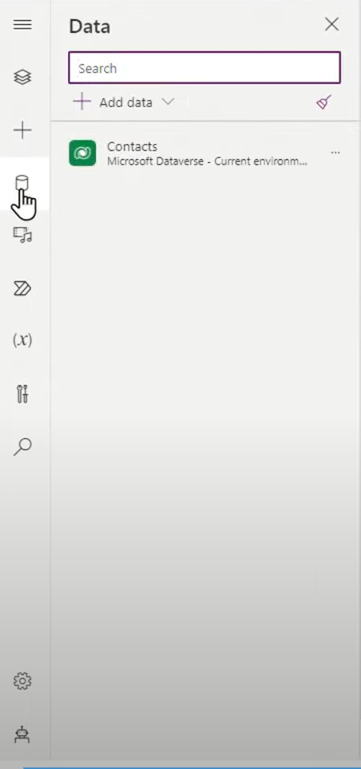
Data
The Data panel allows you to add a data source to your application, similar to the Data menu at the Command Bar.
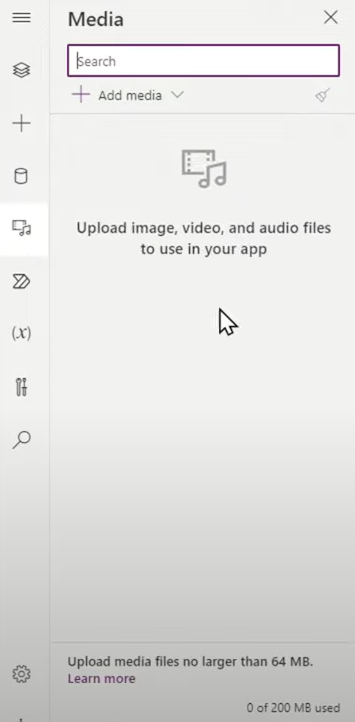
Media
The Media menu allows you to add image, audio or video files to your app.
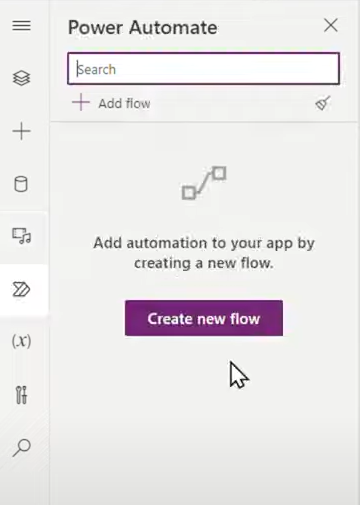
Power Automate
The Power Automate panel allows you to add or modify automation flows on your application.
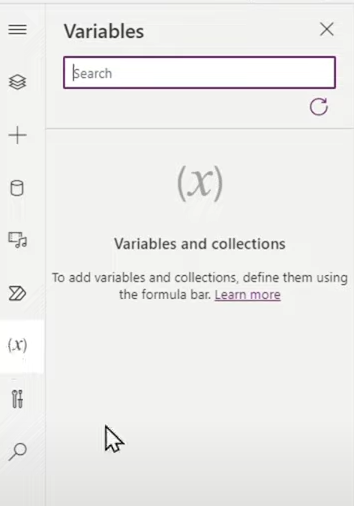
Variables
The Variables panel allows you to add variables and collections to your application. You just need to define them on the Formula Bar.
Search
The Search panel allows you to easily look for and locate data sources, media and other components of your application.
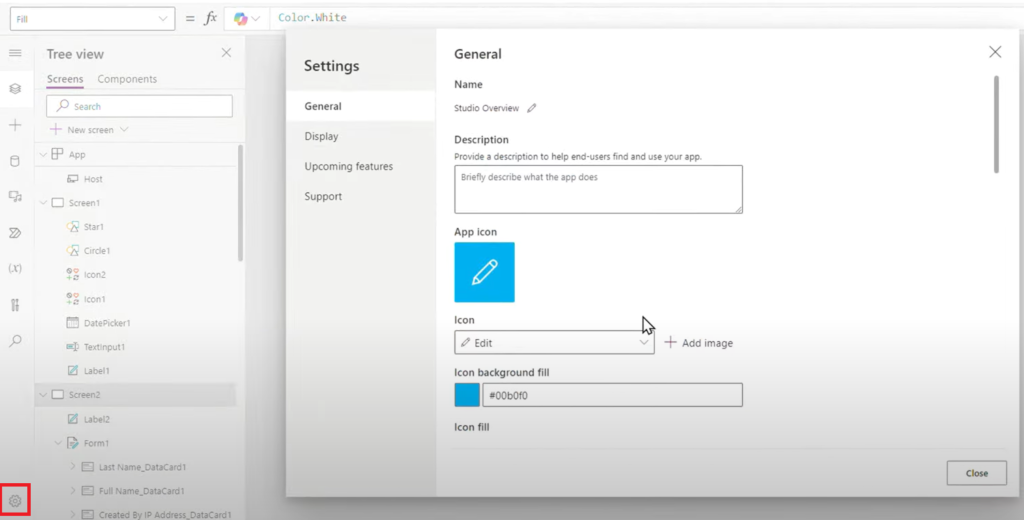
Settings
The Settings panel allows you to change the general settings of your application, such as its name, app icon, description, and screen orientation.
Bottom Panel

Zoom
The Zoom feature allows you to adjust the view of your application so you can see the details closely or the app itself in its entirety on the screen without the need to scroll.

Screen
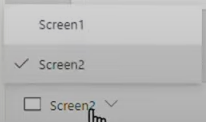
The Screen menu allows you to toggle between your app’s multiple screens.

Leave a Comment