You can create an application on Power Apps that allows your end-users to upload one or more files to your database.
For that, use the Power Apps Attachment Control. This control is useful if you’re building applications that requires your end-users to attach files like reports, forms or images to specific records.
To build an application with an attachment feature, you first need to setup your database to accept uploads.
For this article, we will use Sharepoint as the data source for the application we will be building.
Creating a Database with Uploads in Sharepoint
Step 1
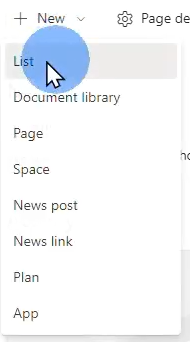
Create a Sharepoint site then click +New > List.
Step 2
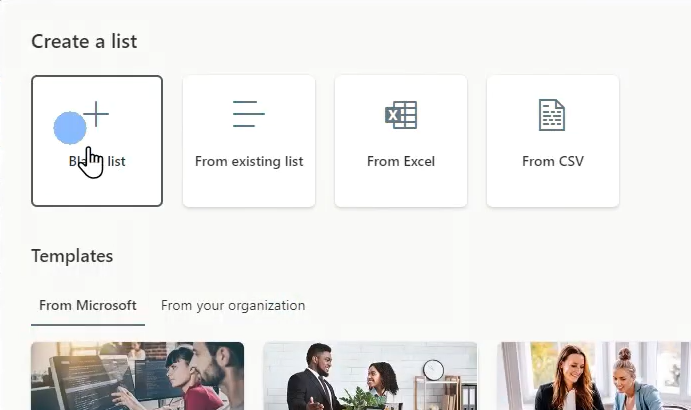
Click Blank List.
Step 3
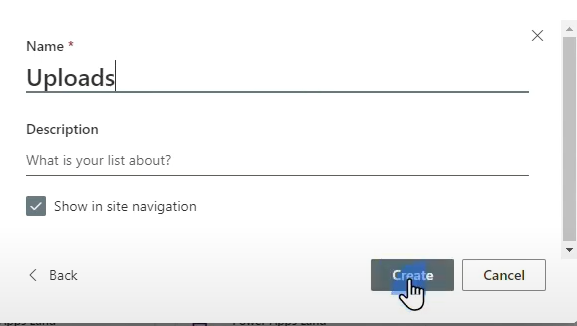
Give your list a name then click Create.
Step 4
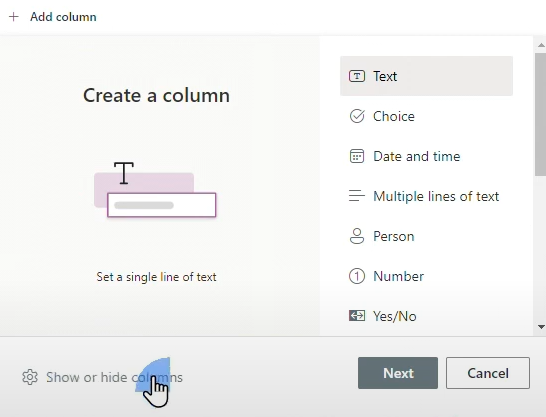
Click on + Add Column > Show or Hide Column.
Step 5
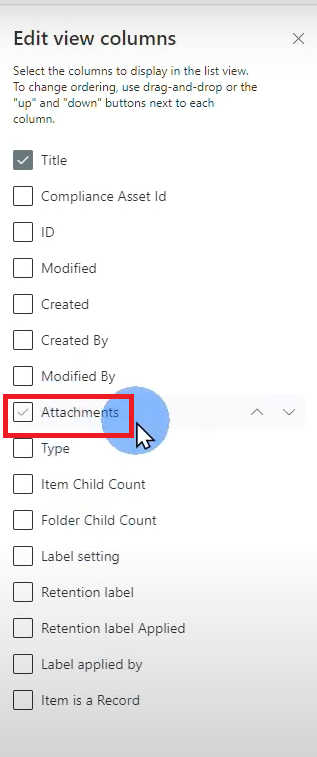
On the Edit View Columns pane, select only Attachments then click Apply.
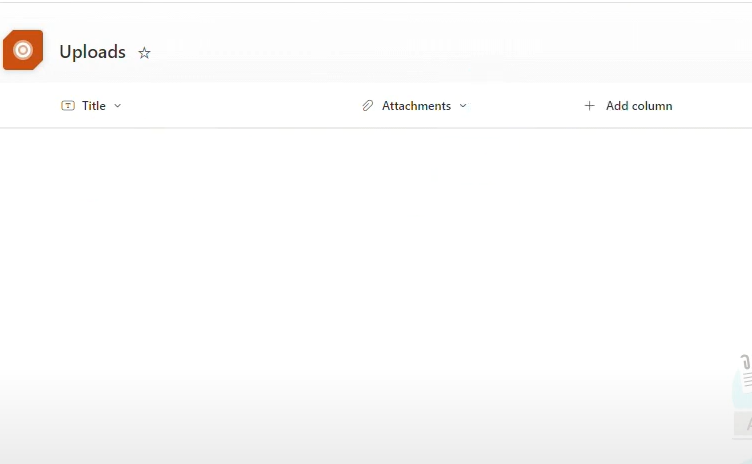
You should now have a Sharepoint list with an attachment column, where the uploaded files will be stored.
Creating a Power Apps application with Upload Feature
Now that you have a database with an upload column, you can now start building your application with an attachment feature using the Attachment Control.
Connecting your data source to Power Apps
Step 1
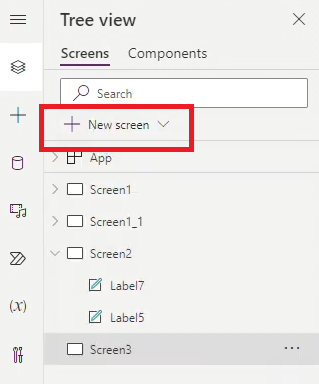
On the Tree View, add a new screen.
Step 2
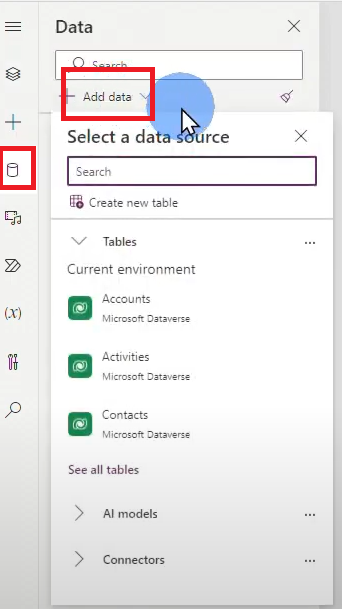
Go to Data on the left pane and click Add Data.
Step 3
Search Sharepoint or your data source.
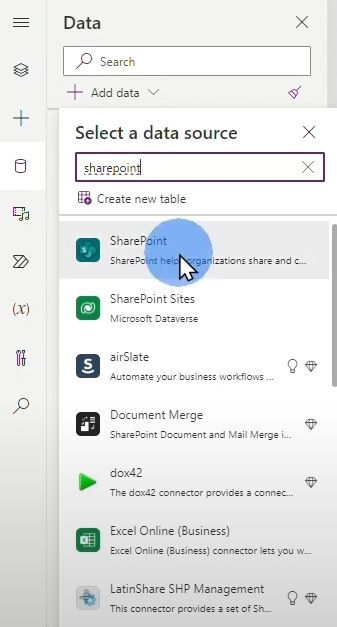
Step 4
Select the Sharepoint table on the list, or paste the link on the top field.
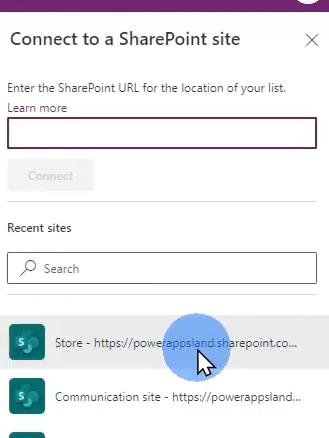
Step 5
Select the Uploads column on the list then click Connect.
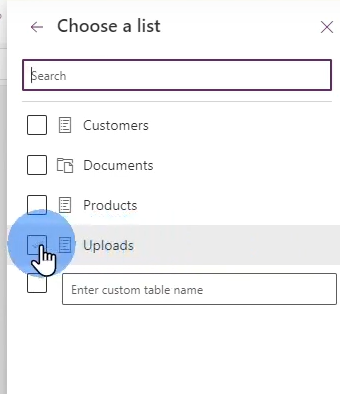
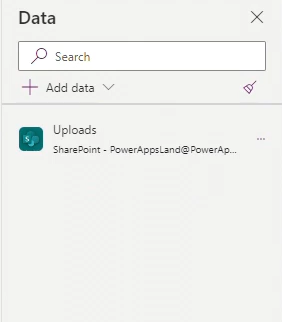
The list will appear on the data pane.
Power Apps Attachment Control
The next thing you need to do is to add a Power Apps Attachment Control on your application screen. To do this:
Step 1
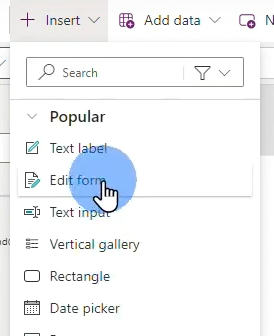
Click +Insert then select Edit Form.
Step 2
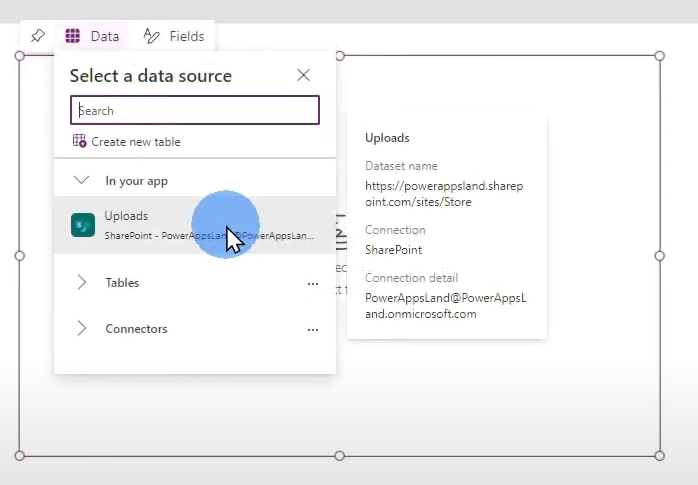
Click Data on the Edit Form menu found on the top of the field then select the Upload data you want to associate with your application.
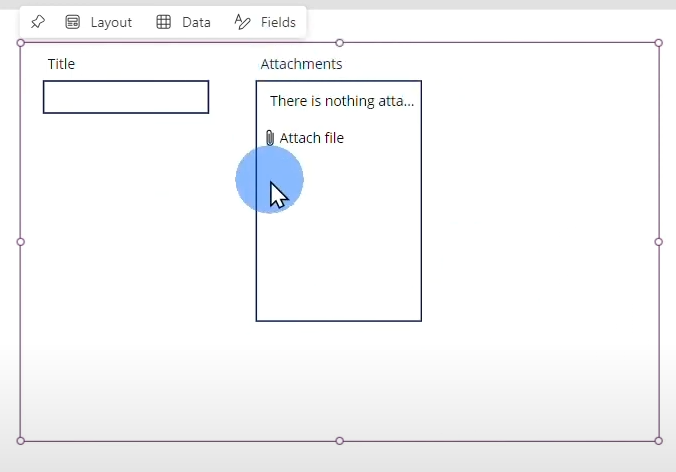
This automatically populates the fields based on the columns you have created on Sharepoint or your selected data source.
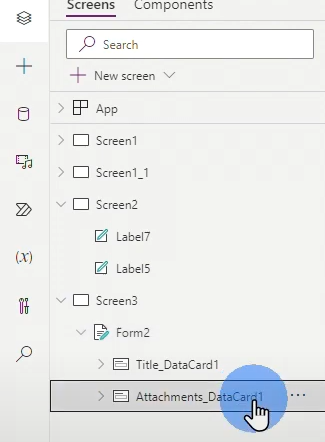
You can also find the fields on the Tree View.
Step 3
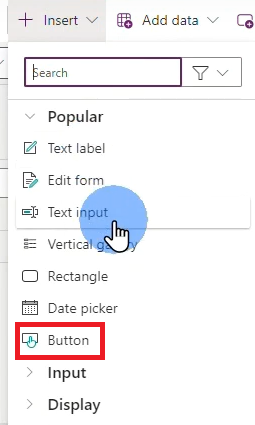
Add a button to Save the form.
For that, go back to the +Insert menu, drag a Button to the screen and rename it to “Save”.
Step 4
Choose the button OnSelect property and add the following to the fx field: SubmitForm(Form2); ResetForm(Form2), replacing Form2 with the name of your form.
This way, when a new record is added and saved, the app fields revert to empty, ready for new records to be added again.

Step 5
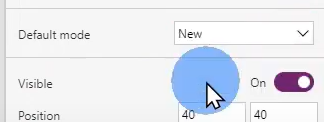
Change the Default Mode of the button to New as you’re adding new record to the data source.
Step 6
Go to Preview mode to test the application.
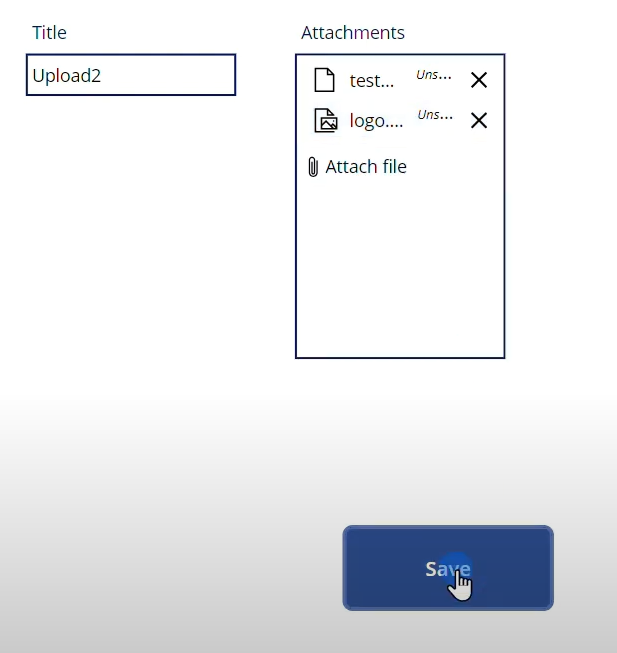
Click “Attach file” and select a file.
Step 7
Click Save to add the new record.
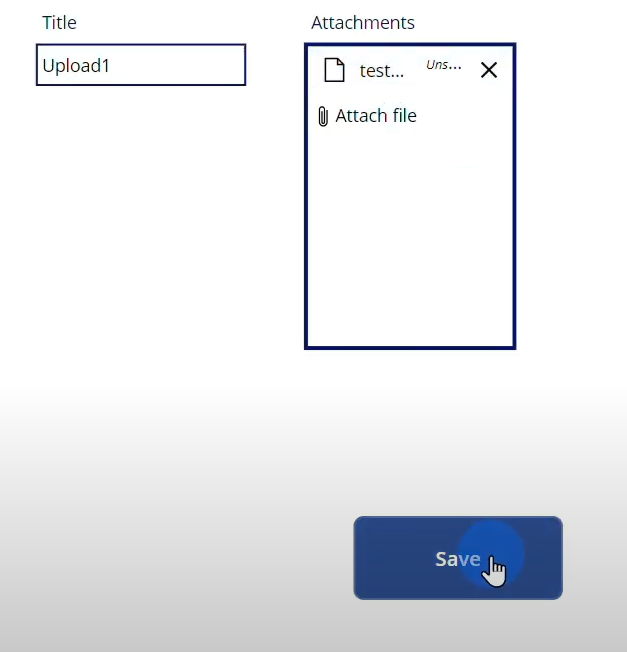
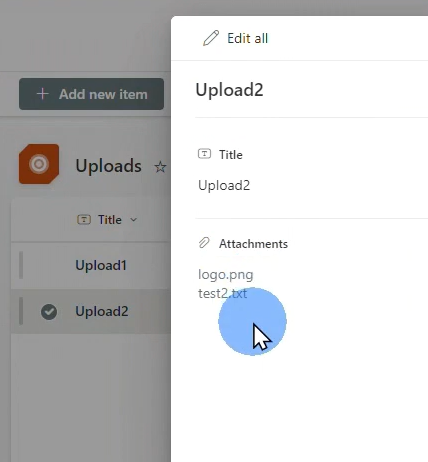
When you go to Sharepoint or your data source, you should be able to find the new record and the attachment you have uploaded.
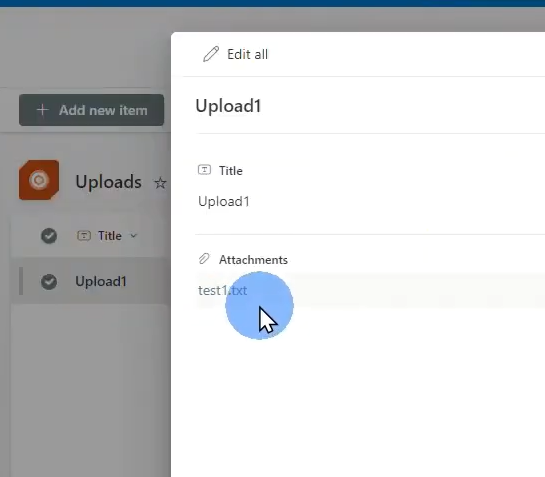
You should also be able to upload more than one (1) file per record.
You should also be able to find the uploaded files on the newly added record on Sharepoint.


Leave a Comment