What is Microsoft Dataverse?
Microsoft Dataverse is a cloud-based data storage technology used by platforms such as Microsoft Power Platform and Microsoft Dynamics 365. It runs on Microsoft Azure.
For Microsoft Power Apps, it is the main database used for creating applications. It is similar to other traditional relational databases such as SQL Server as data is stored on tables with relationships.
Dataverse can store millions of records, terabytes of data and is completely scalable.
You can start small and buy more capacity as you need.
Dataverse Tenant and Environments
There are two (2) terms that you need to understand before we proceed with this guide:
Tenant
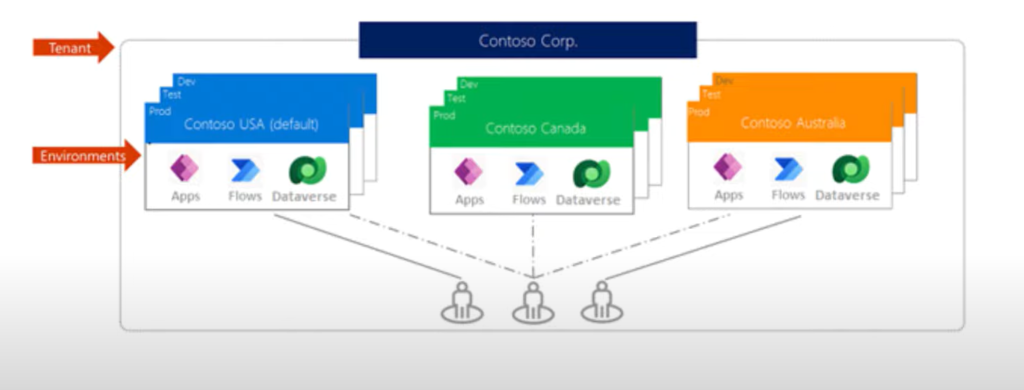
A tenant refers to an instance of the Microsoft 365 services in the cloud. When you create a tenant for your organization it means your organization will have it’s own area where all of your services, users and data are managed.
Environment
Environment, on the other hand, is a subset within a tenant, containing its own data, apps and settings.
In the above illustration, Contoso is the tenant. Under Contoso are three (3) environments that are geo-specific: Contoso USA, Contoso Canada and Contoso Australia.
Each company or organization can have 1 or more tenants, and each tenant can have different environments within.
Each environment can only contain one (1) Dataverse database. You can create environments by country or geolocation, however, not all countries are available as options for geo-specific environments.
Viewing a Dataverse Environment
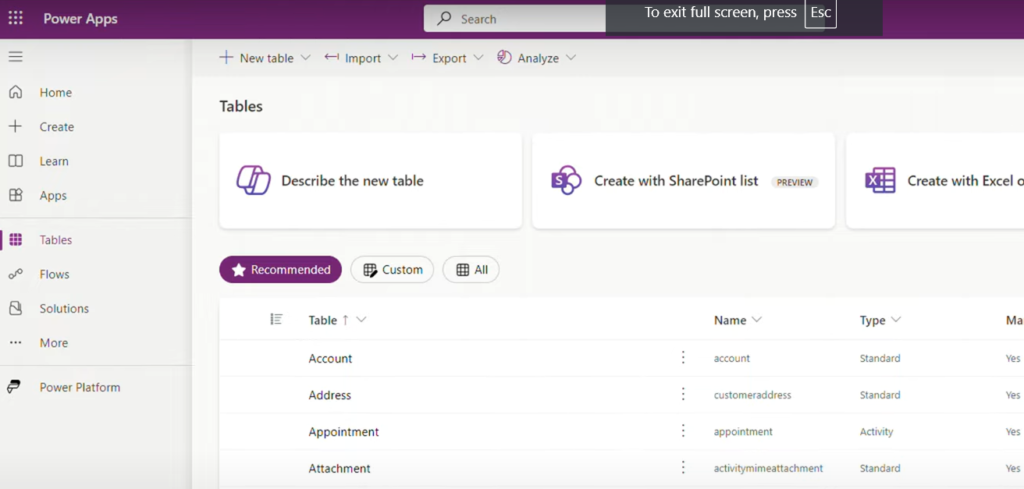
You can view and modify your Dataverse environments by going to Power Apps. To do this:
Step 1
Log to Power Apps.
Step 2
Click Environment on the upper-right corner of the screen.

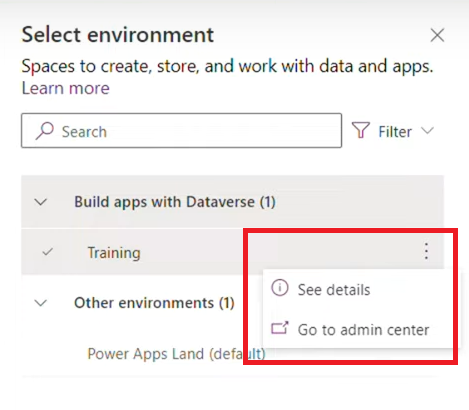
The Environment Panel will show you all environments within your Microsoft 365 tenant. Select an environment you want to access and modify.
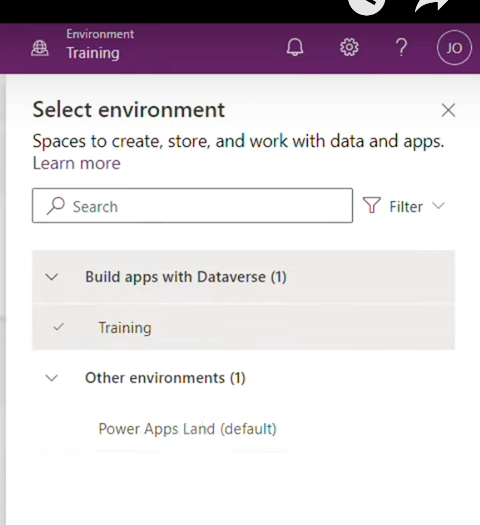
If you want to view the details of your environment, click the Ellipses beside the environment and select Go to Admin Center. This will show you when and who created the environment as well as other details.
Dataverse Main Features
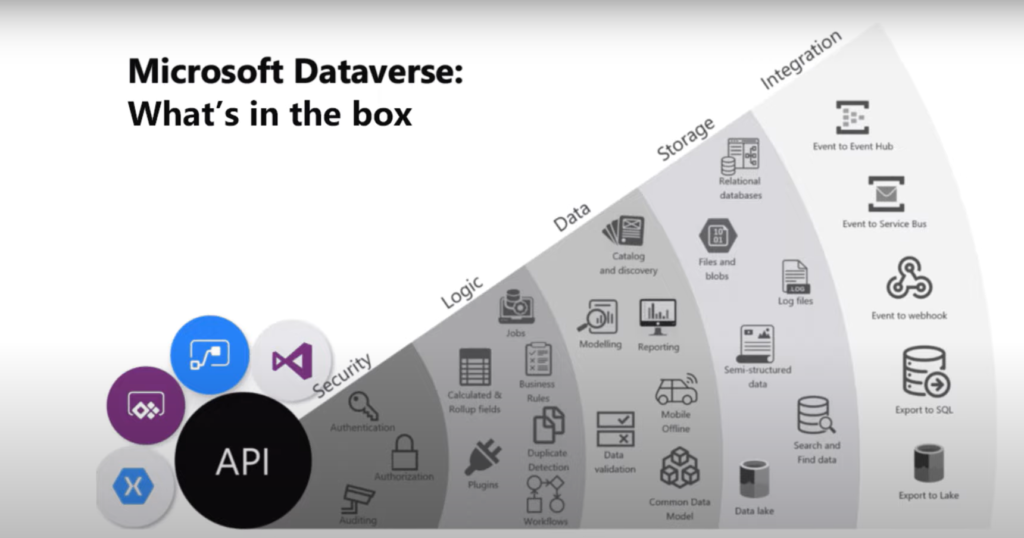
Dataverse has six (6) main features as seen on the illustration above:
- Security layer
- Logic
- Data
- Storage
- Integration
- API’s for communication and integrations
We’ll tackle each feature in detail below.
How to Create a Dataverse Table
Data are stored and organized in tables, with each column providing information on the type and details of the data stored. If you’d like to create a table to store your application’s data:
Step 1
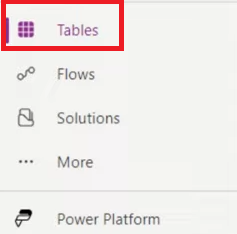
Click Tables.
Step 2
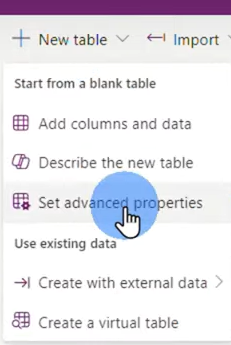
Click New Table > Set advanced properties.
Step 3
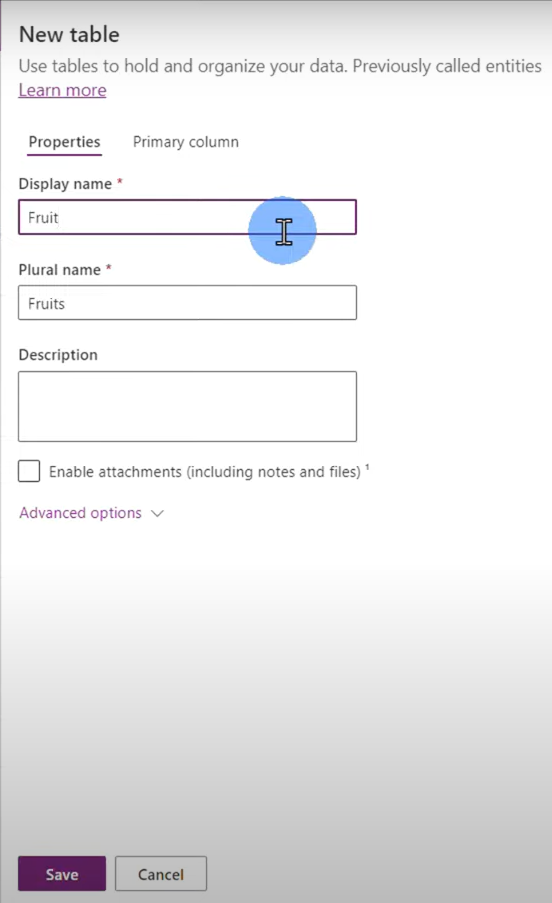
Add a Display Name then click Save. Your display name’s plural form will automatically be generated on the Plural Name field.
Step 4
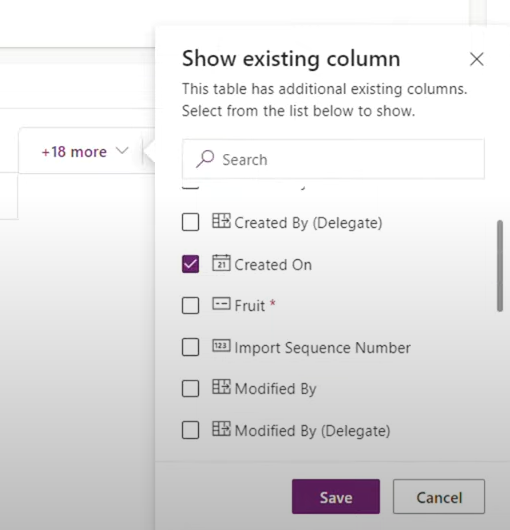
Dataverse automatically added 18 more columns on to your table. If you want only selected columns to show up on your table, click the +18 more column and select only the columns you want visible on your table, then click Save.
Step 5
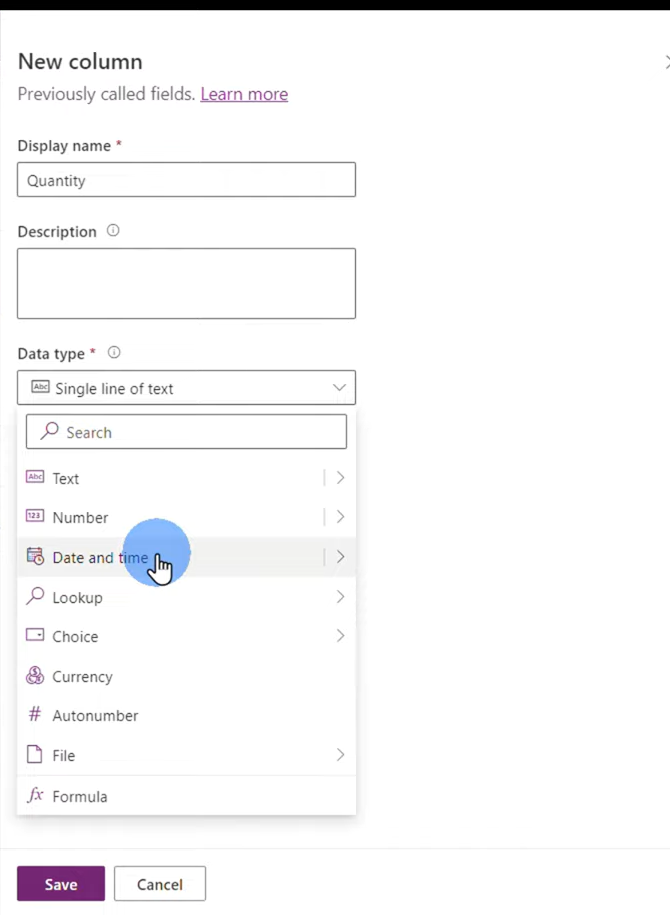
To add a new column that’s not on the Existing Columns list, click the + sign then add the Display Name. Change the data type so it only accepts specific data types then click Save.
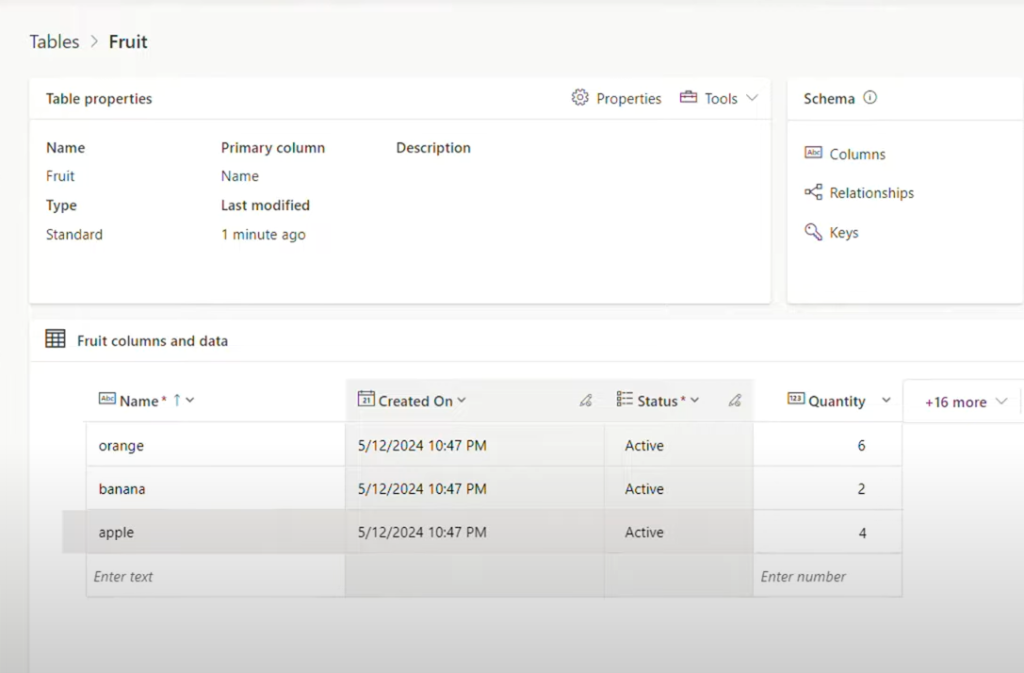
You now have a table you can associate with a Power App or use by itself as a database for your inventory.
Business Logic
Dataverse also allows you to implement business logic directly at a data table level instead of at an app level. This way, you can set the parameters for allowable data details on your database.
To do this:
Step 1
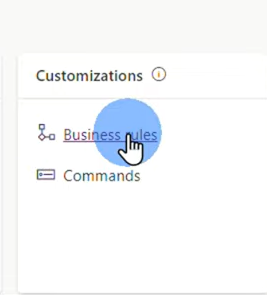
Click Business Rules under the Customization pane on your Dataverse table.
Step 2
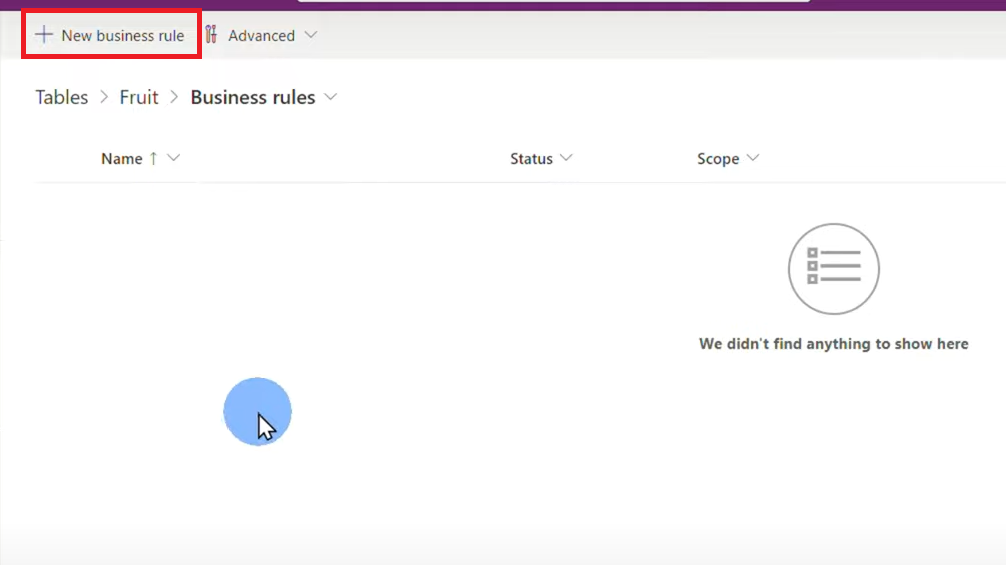
Click New Business Rule above the Business Rules table.
Step 3
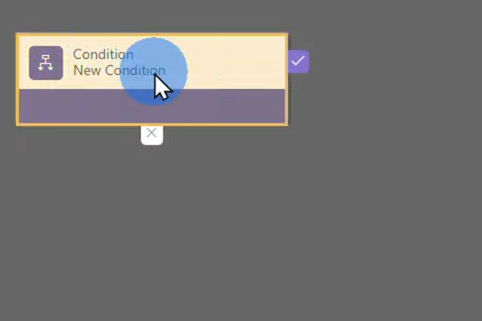
On the New Business Rule page, click Condition.
Step 4
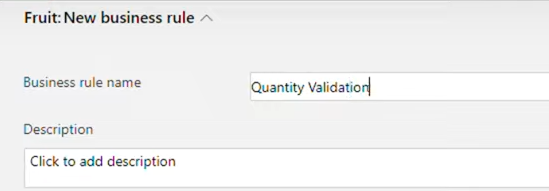
Change the Business Rule name. In this example, we’ll rename the business rule as Quantity Validation.
Step 5
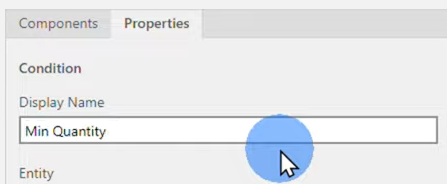
Rename the condition. In this example, we’ll rename the condition as Min Quantity.
Step 6
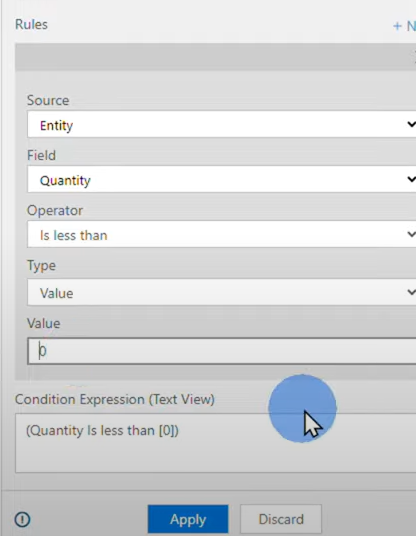
Change the following details:
- Field – Choose the field you want to apply business rules to. In this example, choose Quantity.
- Operator – Specify the relationship you want between the value and the condition. In this example, we’ll choose “is less than”.
- Type – Select the input type. In this example, we’ll select Value.
- Value – Specify the value of the condition. In this case, we’ll enter 0.
Step 7
This will automatically generate the condition expression. Once satisfied with the condition, click Apply.
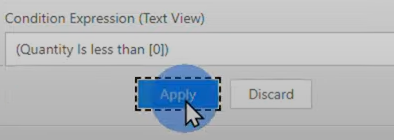
You have now created the condition for your business rule. The next thing you need to add is the expected outcome based on the condition created.

To do that:
Step 1:
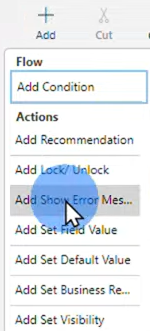
Click Add then select an action. In this example, we’ll go with Add Show Error Message.
Step 2
Click the + beside Condition to add the action.
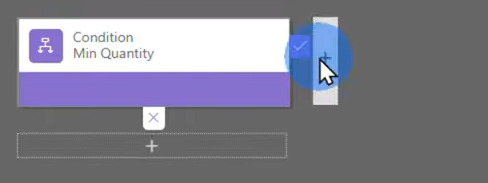
Step 3
Click the Show Error Message box to toggle its properties.
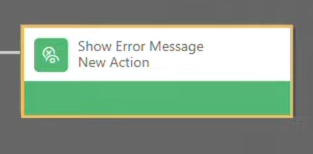
Step 4
Rename the Display Name. In this case, we’ll rename to Quantity Error Message.

Step 5
On the Error Message field, select Quantity on the drop-down, then add “Quantity cannot be less than zero” on the text box. Once done, click Apply.
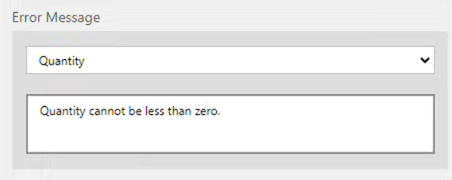
Step 6
You will see the complete business rule statement on this field.

Once you’re satisfied with the business rule details, click Validate > Save > Activate to apply it to your database.

Step 7
Confirm the process activation one more time.
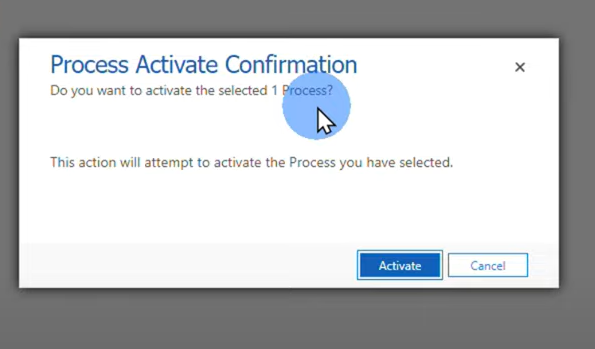
The business rule you have just created should appear on the Business Rules table. Go back to the table to test out the business logic you have just implemented.

Given that the business rule we have added states that values below 0 will prompt an error message, you will see that the -8 value wasn’t saved on your table. When you click the ⓘ, you’ll see the full error message.

User Access Levels
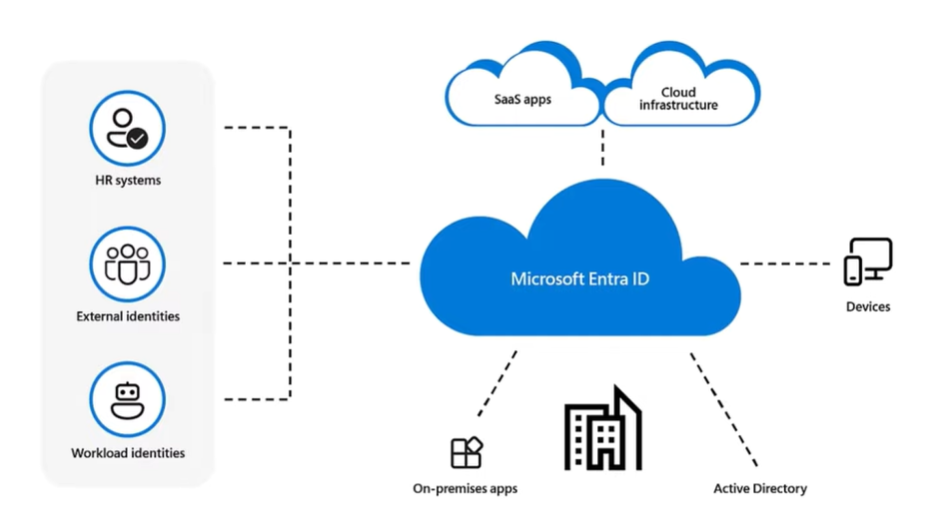
Dataverse allows you to give user accesses to your database with the integrated Microsoft Entra ID (Formerly Azure Active Directory).
You can also set security roles so that you can provide specific access privileges to certain users.
In addition, you can implement restrictions on your database at a granular level, such as setting authorization to specific table columns or certain user roles.
Connectors to build integrations
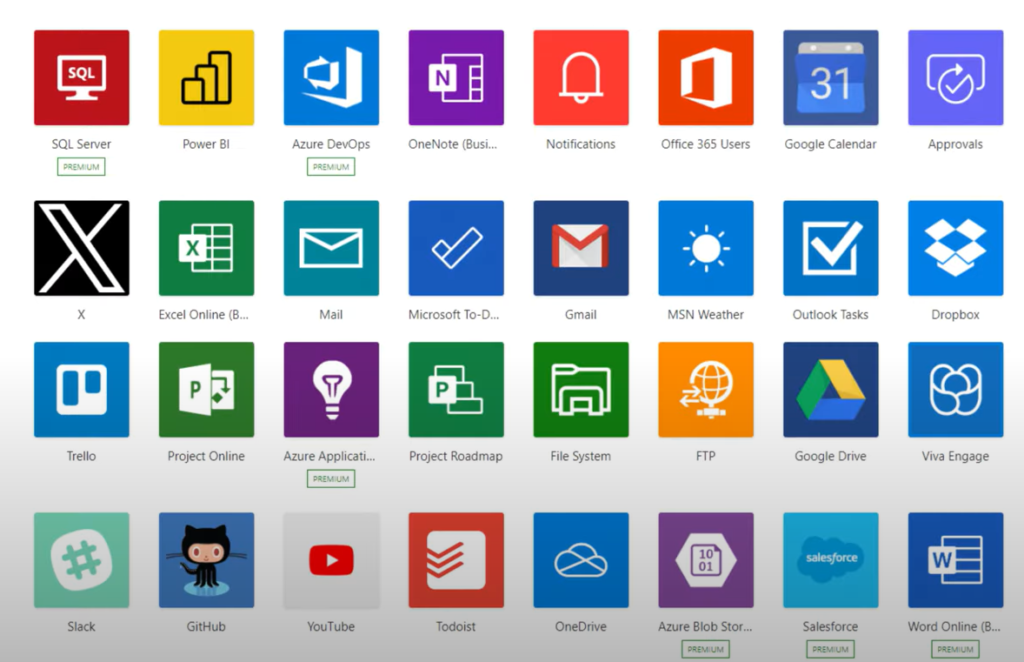
Through connectors, you can integrate your Dataverse database to various Microsoft products (Word, Excel, Sharepoint, SQL Server…) as well as products from other vendors such as Google Drive, Oracle, SalesForce, SAP…
Do note that certain products will require a Premium account in order for you to successfully connect your Dataverse database with them.
If the data source or application is not available on the list of products you can connect your database with, you can create a custom connector to integrate it with your Dataverse database.
Dataverse Virtual Tables
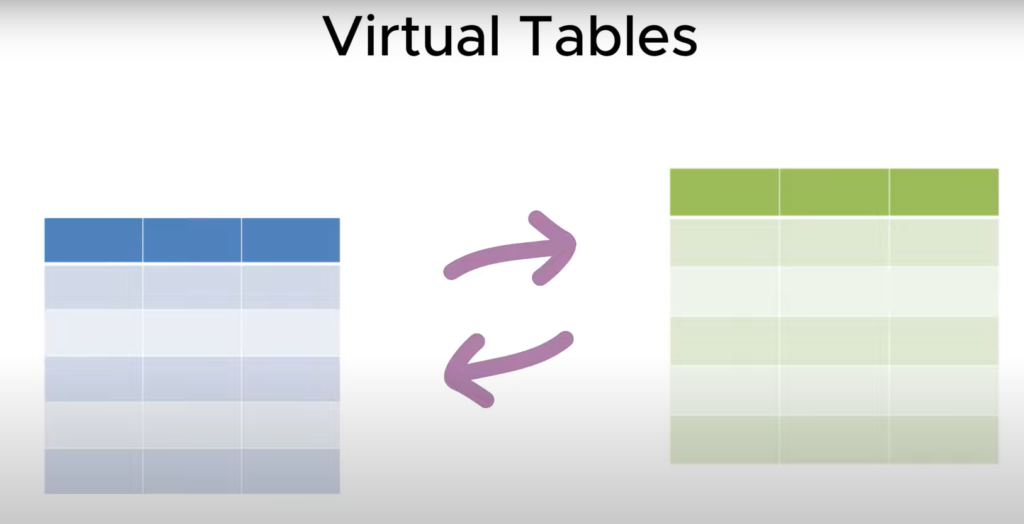
Dataverse has a feature called Virtual Tables. This allows you to map data from external databases to tables in Dataverse.
This means if you enter or modify data into these external tables, it will automatically be reflected on the tables within your Dataverse tables as well.
Auditing
Audit allows you to see the complete history of operations done in your dataverse instance.
It allows you to view and track the changes done on every record in detail. Including:
- When it was created
- Updates made
- When it was deleted
- Who created, updated or deleted a record
Dataverse Analytics
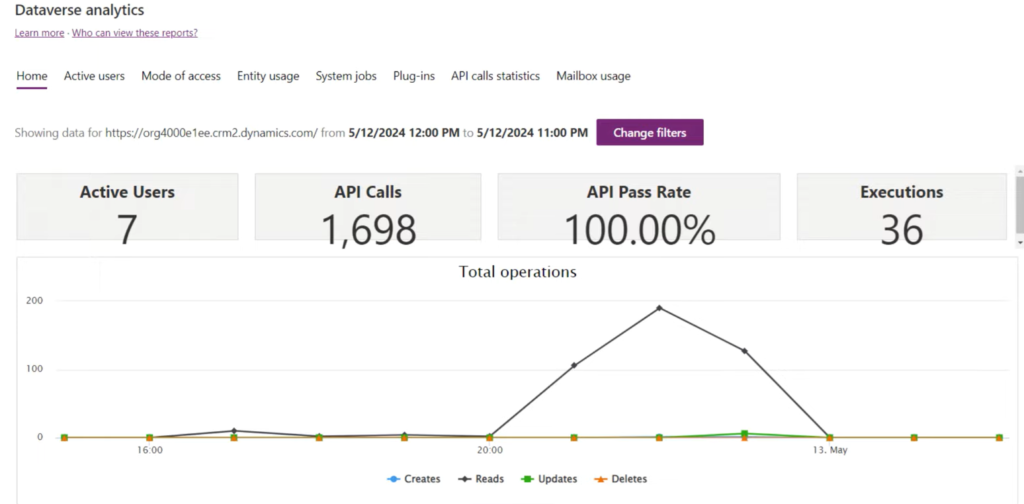
Want to know how your application or database is being utilized?
Dataverse’s Analytics feature allows you to get in-depth reports and insights on the performance and usage of your database.
Dataverse with Copilot AI
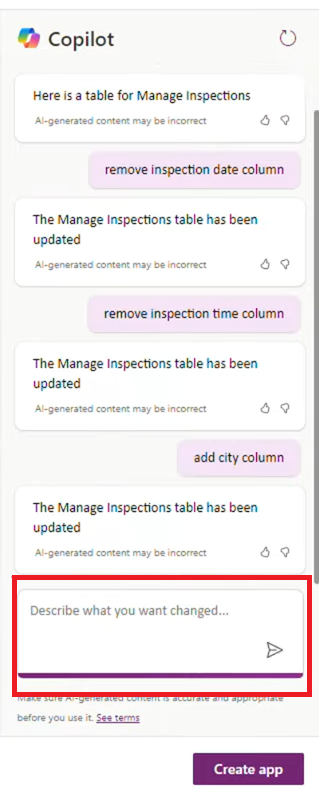
You can even build Dataverse databases with AI through the integrated Microsoft Copilot.
Just enter the description of the application or table that you want to create, or the details of the changes that you want implemented on an existing database.
Your new or updated table or application is modified or created in seconds.

Leave a Comment