The Power Apps Model Driven approach in creating applications is a more data-centric approach to creating applications.
An advantage about using this approach in creating applications as opposed to using Canvas is that you don’t have to design each screen and component individually. Power Apps will design the application for you.
Design is more standarized and not so flexible and customizable as in Canvas apps. But still, has some level of customization so you can tweak the forms according to your specific need.
Do note that the Model Driven approach only works with Microsoft Dataverse as the data source.
To create a Model Driven application, you must first set up your data source as this will serve as the baseline for your app.
Prepare your Dataverse data source
Your data source is the most crucial part of creating a Model Driven application as the design of the application will be based heavily on how your data is structured.
To give you a point of comparison, we will be using the same tables as the Sharepoint data source used in this walk-through article.
To create your Dataverse data source:
Step 1
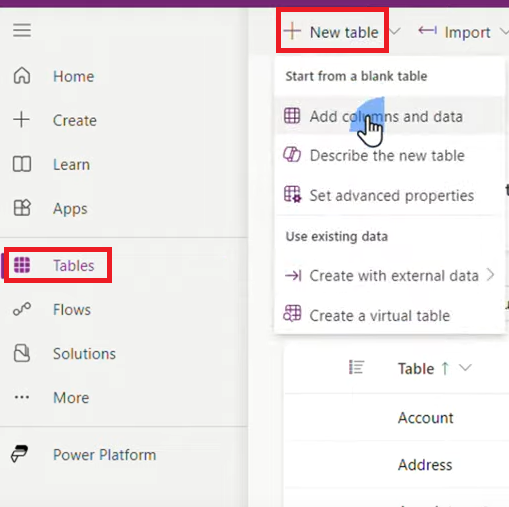
Click Table > +New Table > Add Columns and data.
Step 2
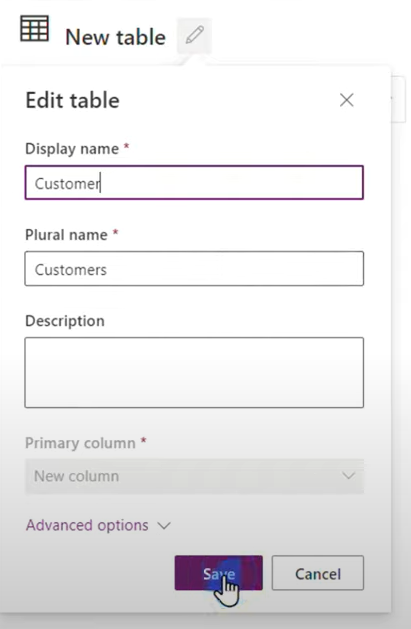
Rename the table Customers then click Save. This will automatically populate the plural form on the Plural Name field.
Step 3
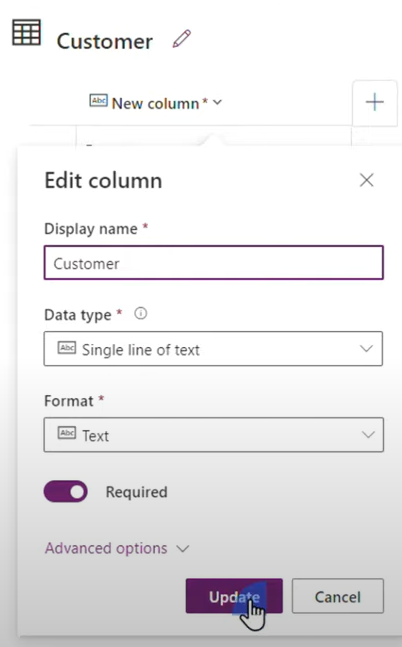
Click New Column and rename it to Customer. Change the Data Type to Single Line of Text and Format to Text then click Update.
Step 4
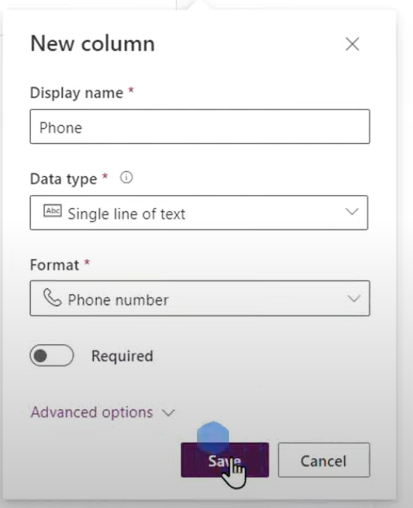
Click the + sign beside the Customer column to add a new column and rename it to Phone. Change the Data type to Single line of text and the Format to Phone Number. Click Save to add the new column.
Step 5
Click Create to publish the table.
Step 6
Create two (2) other tables with the following details:
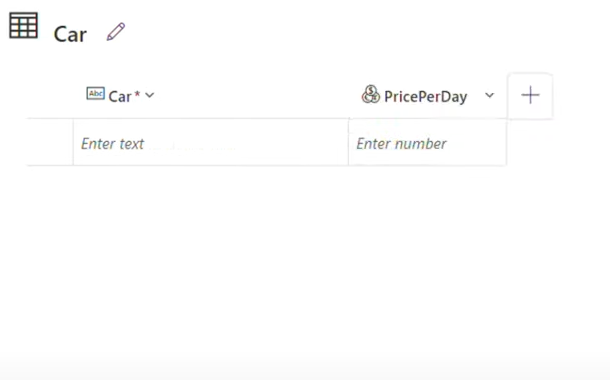
- Second Table Name – Car
- First Column – Car
- Data type – Single Line of Text
- Format – Text
- Second Column – PricePerDay
- Data type – Currency
- First Column – Car
- Third Table Name – Rental
- First Column – Rental
- Data type – Single Line of Text
- Format – Text
- Second Column – Customer
- Data type – Lookup (The Lookup data type allows end-users to search and select customers from the Customers table)
- Related Table – Customer
- Third Column – Car
- Data type – Lookup
- Related Table – Car
- Fourth Column – Start
- Data type – Date and Time
- Format – Date only
- Fifth Column – End
- Data type – Date and Time
- Format – Date only
- First Column – Rental

Once you have created the tables which will become your data source, you can now build your Model Driven application.
Creating your Model Driven Application
Unlike Canvas apps wherein you have to manually build the interface of your application, applications built using the Model Driven approach will be autogenerated based on how your data source is structured. Once you have your Dataverse tables setup, you may proceed with the steps below:
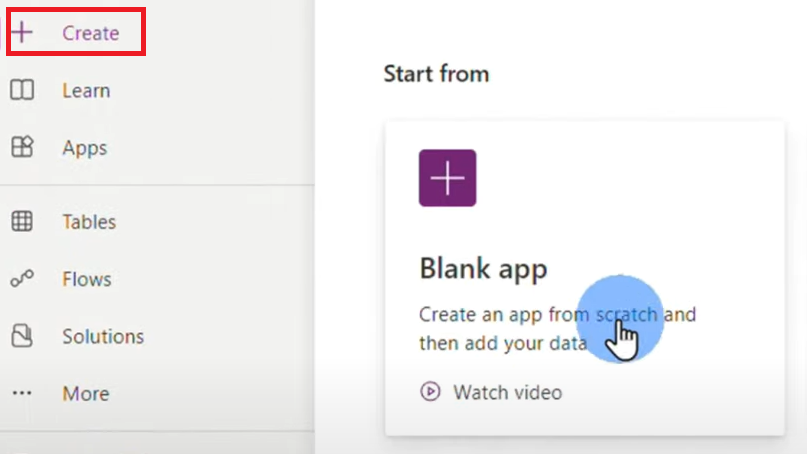
Step 1
Click +Create > Blank app.
Step 2
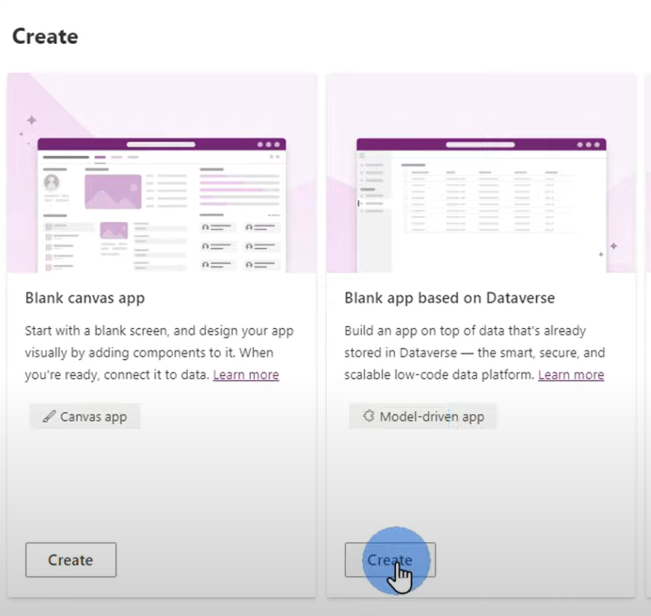
Select Blank app based on Dataverse (Model Driven app) then click Create.
Step 3
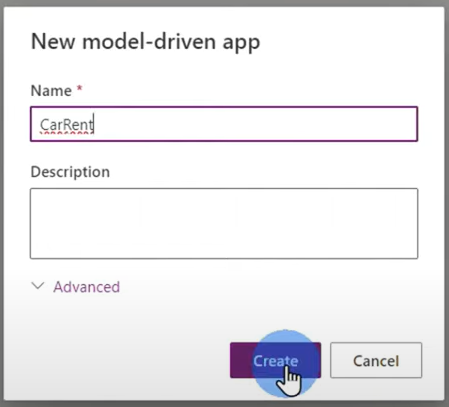
Name your application CarRent then click Create.
The interface where you will be creating your app is noticeably different from the Power Apps Studio interface for creating Canvas Apps.
It will have lesser buttons as you won’t be manually designing your application’s interface for the most part.
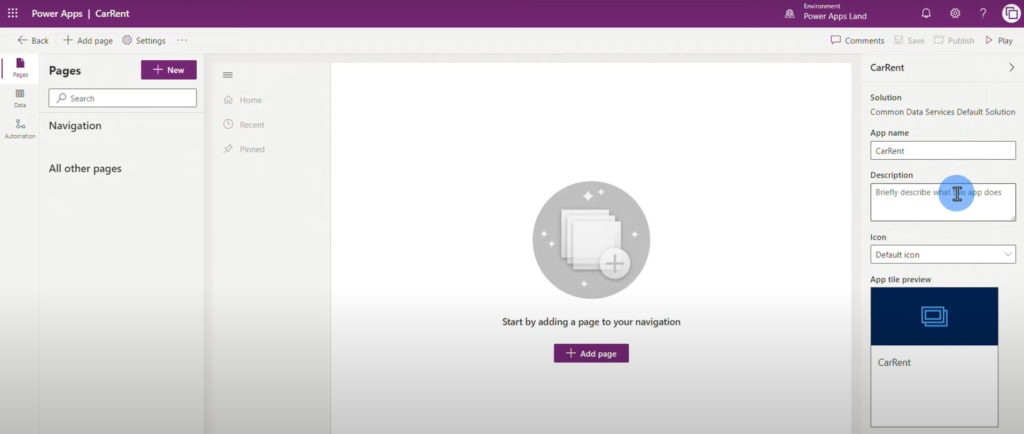
Adding Tables to your Model-Driven Application
Unlike Canvas apps, Model-Driven apps are easier and more straightforward to build. Just follow the steps below:
Step 1
Click Add New Page > Dataverse Table.
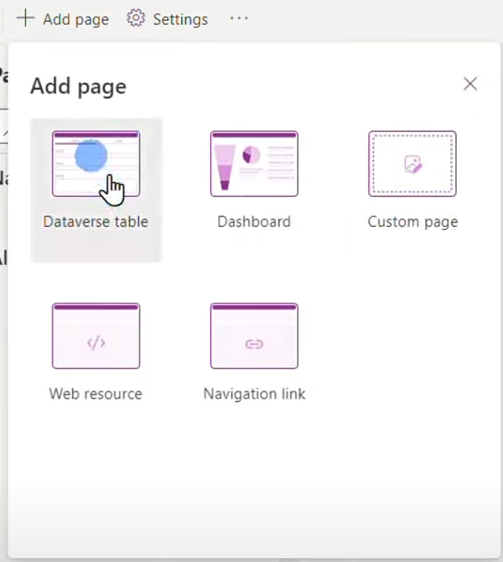
Step 2
Choose one of the tables you have created on Dataverse then click Add. In this example, we’ll use Customer.
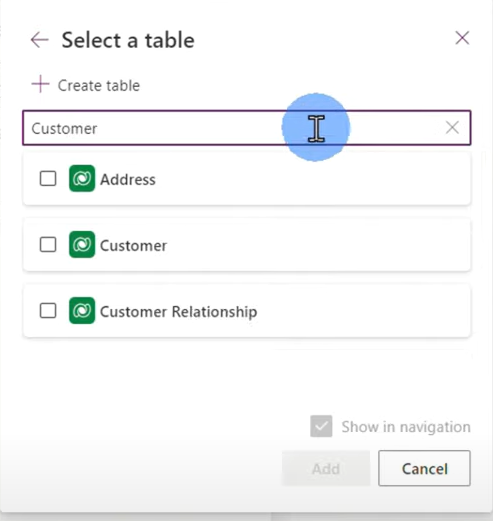
The app is automatically populated.
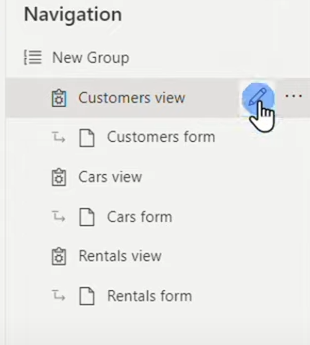
The table is then added to the Navigation view, with both the Customers view and Customers form visible.
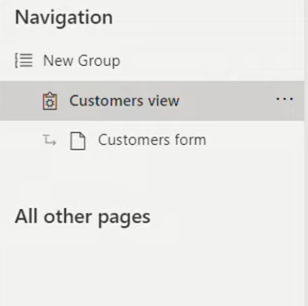
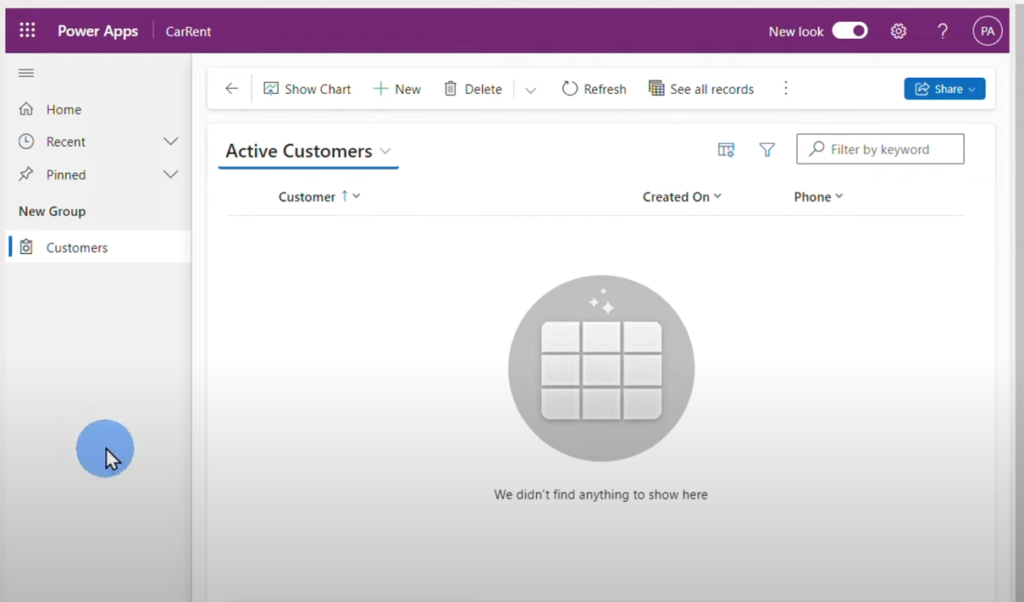
When you click the Customer View, you will see where the records pipe into and the other navigation buttons.
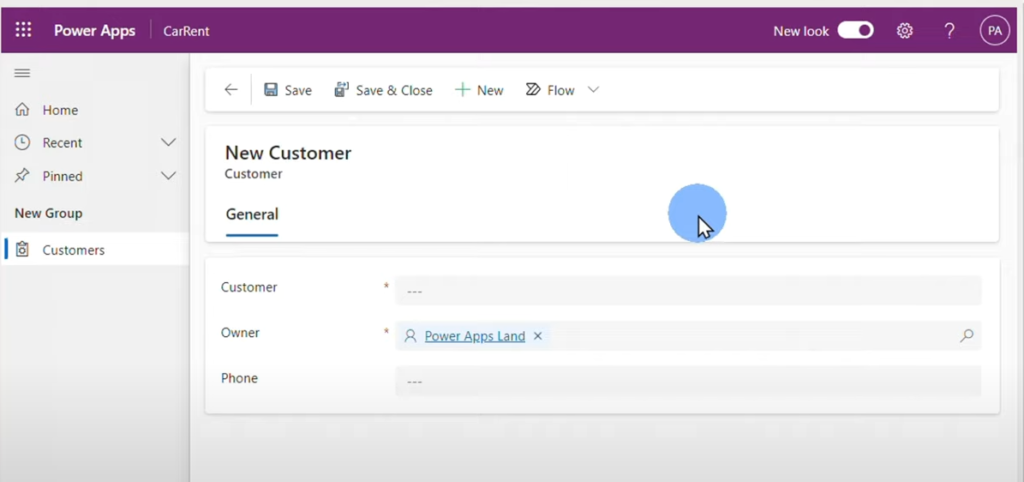
When you click Customer Form on the Navigation Panel, You will see the form where you can add new customers.
Now you can add the rest of the tables you have created on Dataverse:
- Cars
- Rentals
Customizing your Model Driven App
While the Model Driven app can already run as is, you can still modify it to your preferred design or flow. To do that:
Step 1
Go to the Navigation Panel and click the Edit button beside the page or form you want to edit.
Step 2:
Drag and drop the field headers to reorder them according to your preferred arrangement.

Step 3
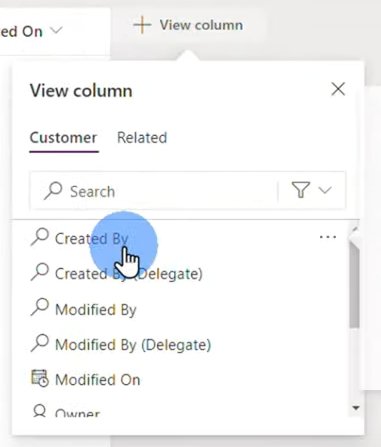
To add a new column, click +View Column then select the column you want to add.
Step 4
To remove columns, click on the column you want to remove and select Remove.
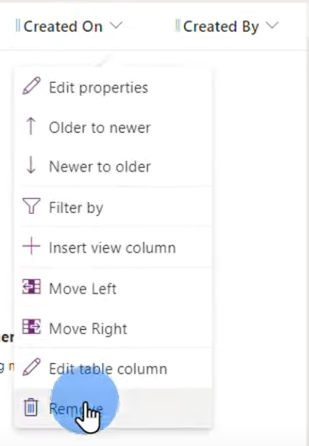
Step 5
Once you’re done editing your application, click Save and Publish at the top-right side of Power App then click Back view the updates on your app.

Step 6
Click the Edit button beside the Customer Form page on the Navigation Panel.
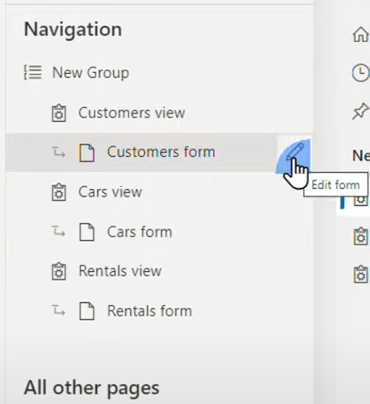
Step 7
To relocate a field or component, drag and drop the selected component to its new location. For this example, we’ll put the Owner field at the top-right side of the Customer Form page.
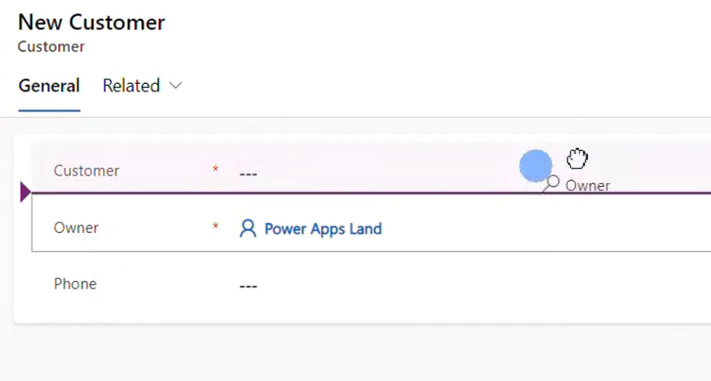
Step 8
Once done, click Save and Publish then click Back.
Step 9
Do the same for the Cars View and the Cars Form then click Save and Publish:
- For the Cars View, remove the Created On column. It should only have the Car and PricePerDay fields.
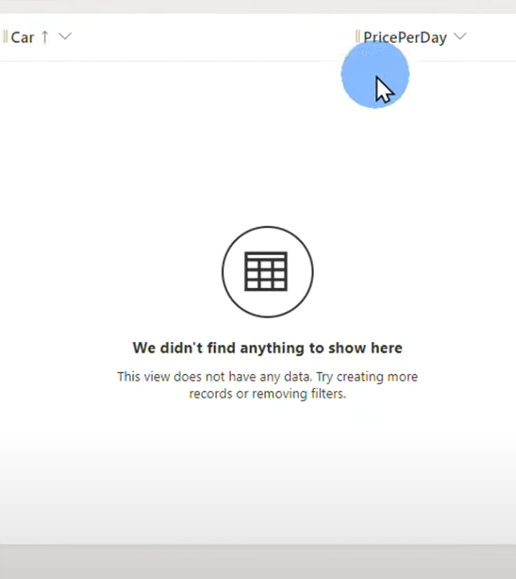
- For the Cars Form, drag and drop the Created By field to the top-right corner of the app.

Step 10
For the Rentals view and Rentals Form, do the following changes then click Save and Publish:
For the Rentals View
- Remove the Created On column
- From the Navigation Panel, drag and drop the Customer lookup column between Rental and Start.
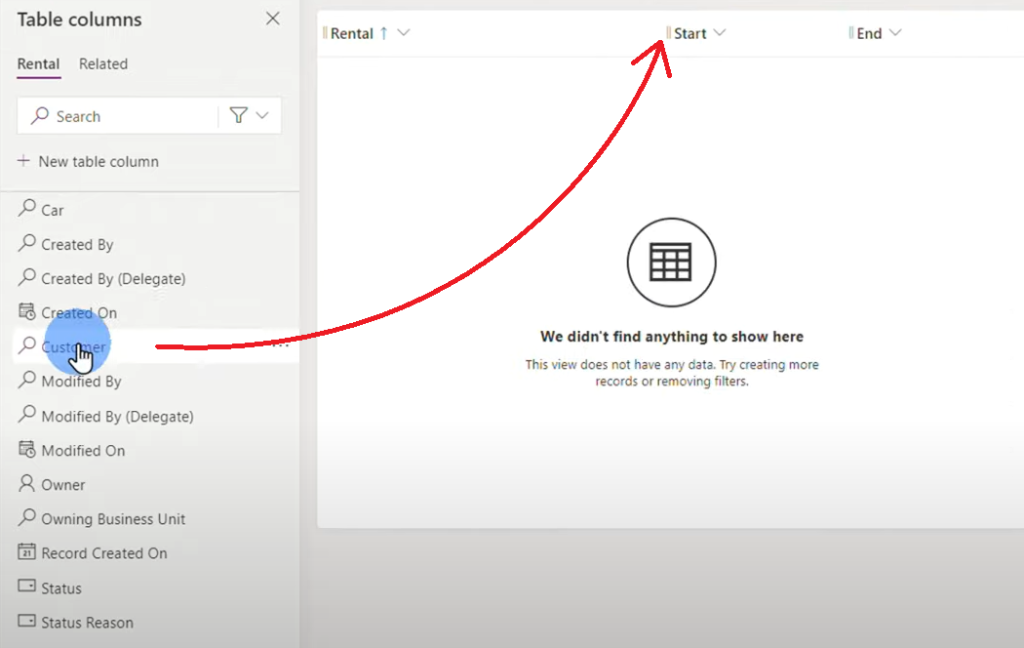
- Drag and drop the Car lookup after the Customer field.
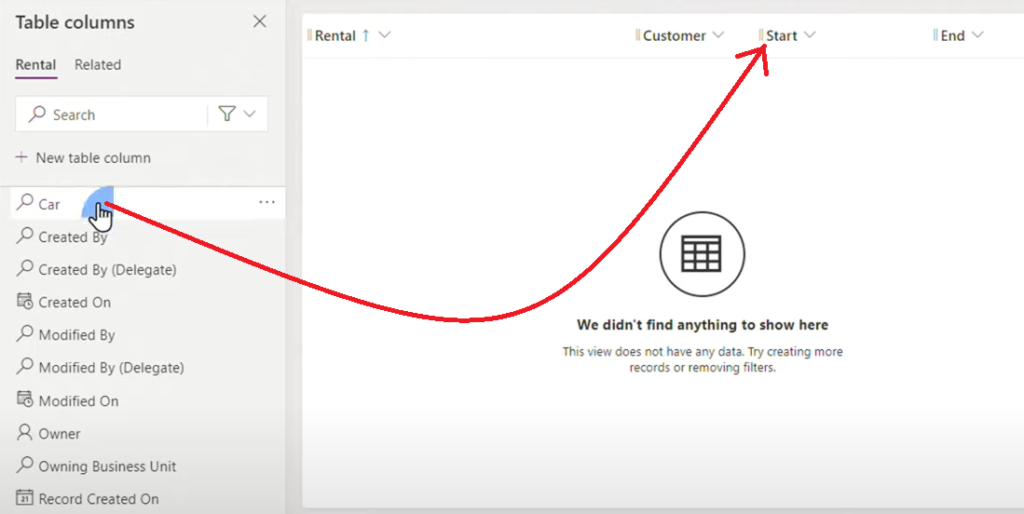
- Remove the Rental column.
For the Rentals Form:
- Drag and drop the Owner field to the top-right of the app screen
- Drag and drop both the Customer and Cars lookup fields from the Navigation Panel to the top of the Start field.
Step 11
Click the Publish button to save all changes.

Testing out your Application
Step 1
Click Play to preview the flow of your application.
The app will be launched on a new tab. Here’s the preview of the Active Customers page, where all the records can be viewed on.
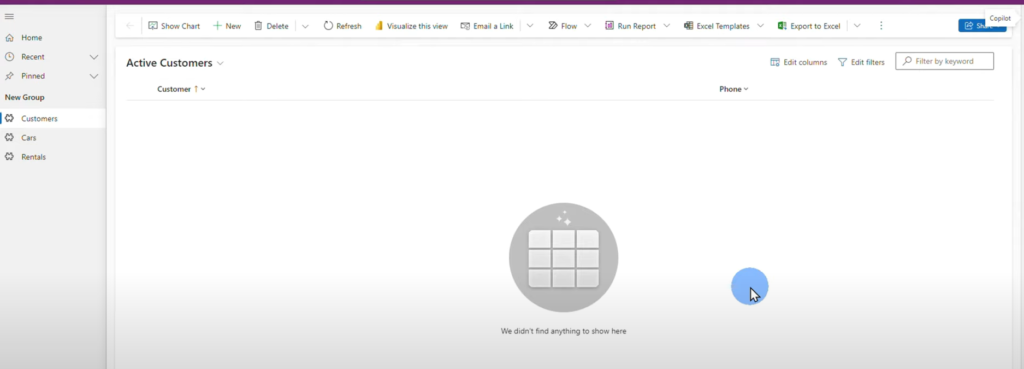
Notice that the Navigation Panel of the app also has buttons going to the Cars and Rentals page.
Step 2
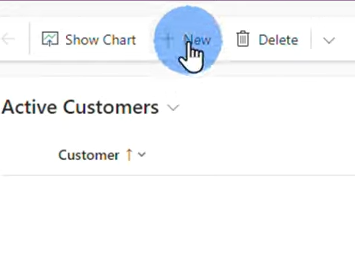
Add a new customer by clicking +New.
Step 3
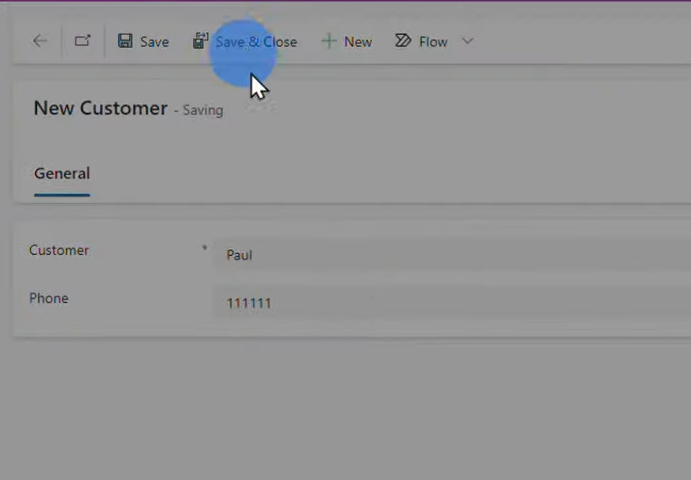
on the New Customers form, add a sample data then click Save and Close.
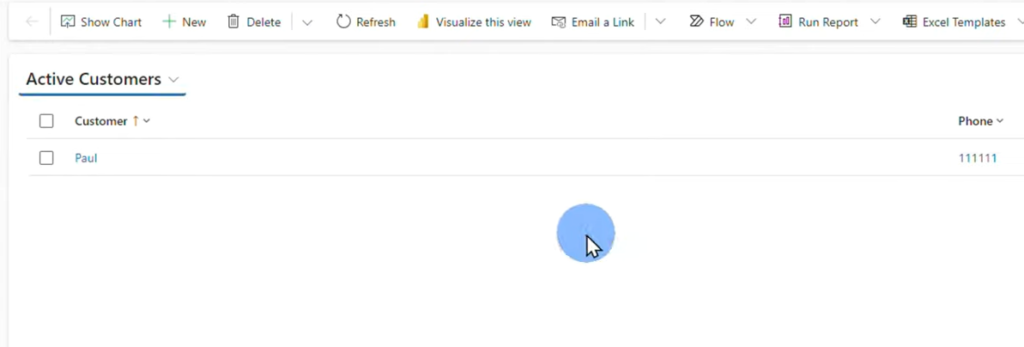
The sample data should be on the Active Customers View page.
Step 4
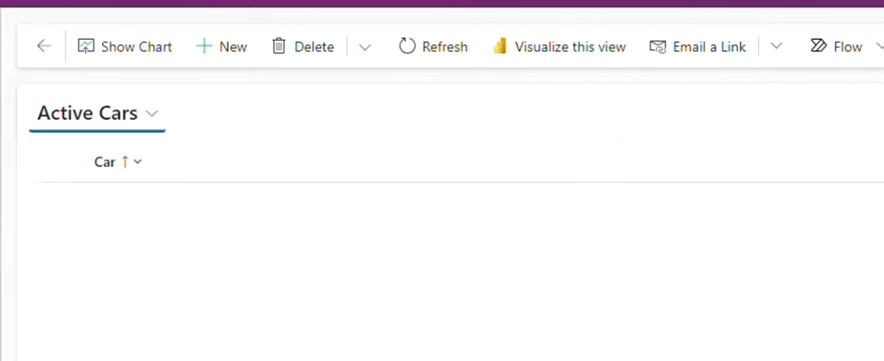
Click on Cars to see the Cars records.
Step 5
Click +New and add a rental car. Click Save & Close once done.
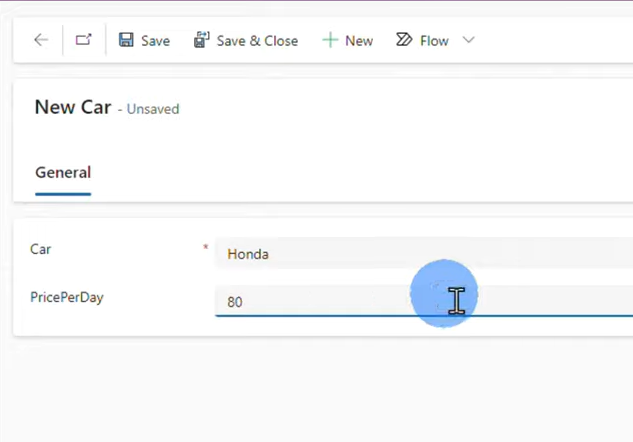
The rental cars and their price per day should appear on the Cars View.

Step 6
Click Rentals then click New.
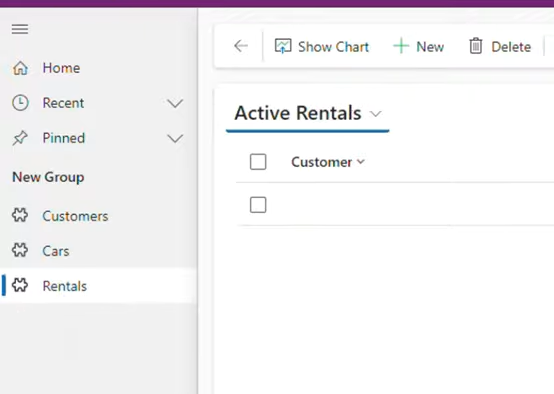
Step 7
Add a sample rental. For the Customer field, click the Lookup button then select a customer.

For the Car field, select the car.

For both the Start and End date, click the field, then select what day you want to start renting the vehicle and when you want to return it.
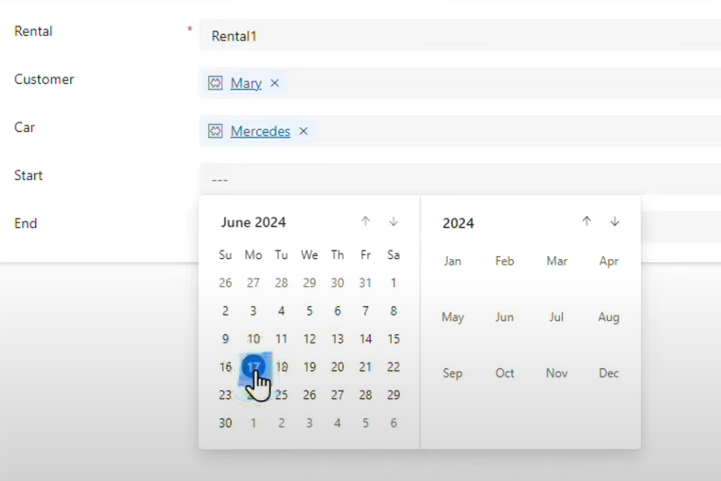
Click Save and Close once done.
Your sample rentals should appear on the Rental page.

With Model Driven approach in creating apps, there’s no need to manually add formula to make sure all components work.
Once you have set up the tables on your data source and added them to your app, they are automatically populated on the application itself.
All apps created using the Model Driven approach also comes with these buttons by default:


Leave a Comment