Microsoft Power Apps lets you create scalable solutions for your business, without extensive programming knowledge necessary.
This low-code development platform lets you create custom applications that streamline processes and automate certain tasks for your business.
It also integrates seamlessly with other Microsoft services.
The following Power Apps examples provided by Microsoft, will show you its vast potential in fulfilling your business needs.
1. Budget Tracker
This budget tracker application lets you easily monitor company-wide or department wide expenses for events and projects. It is also great for tracking personal finances.
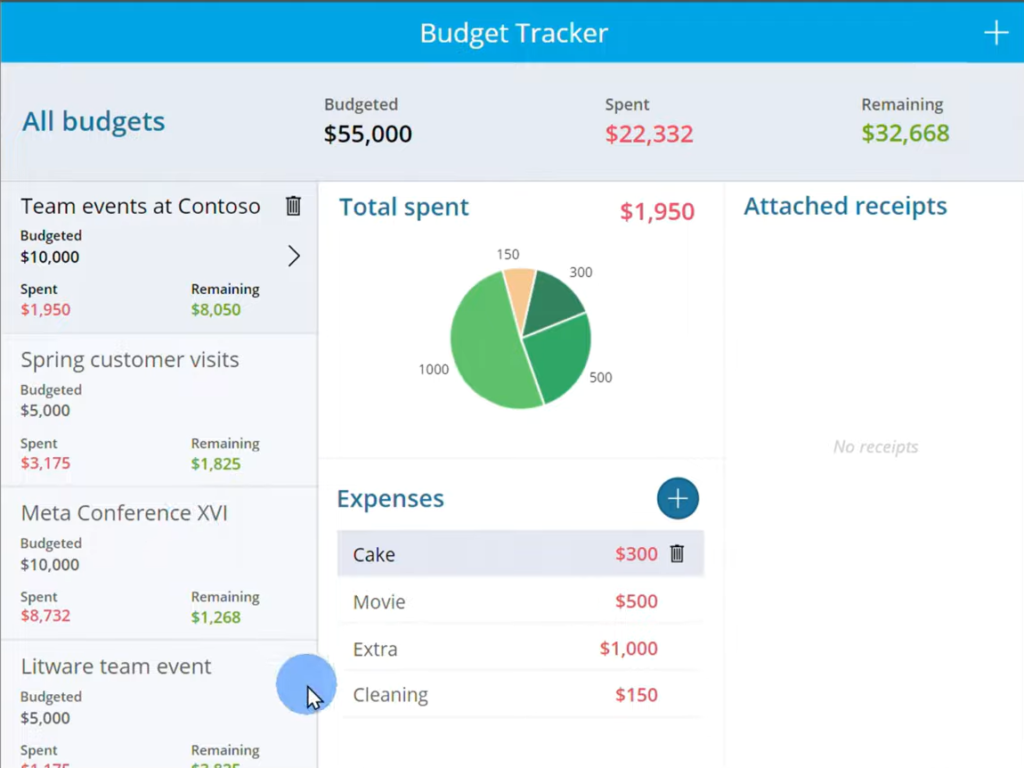
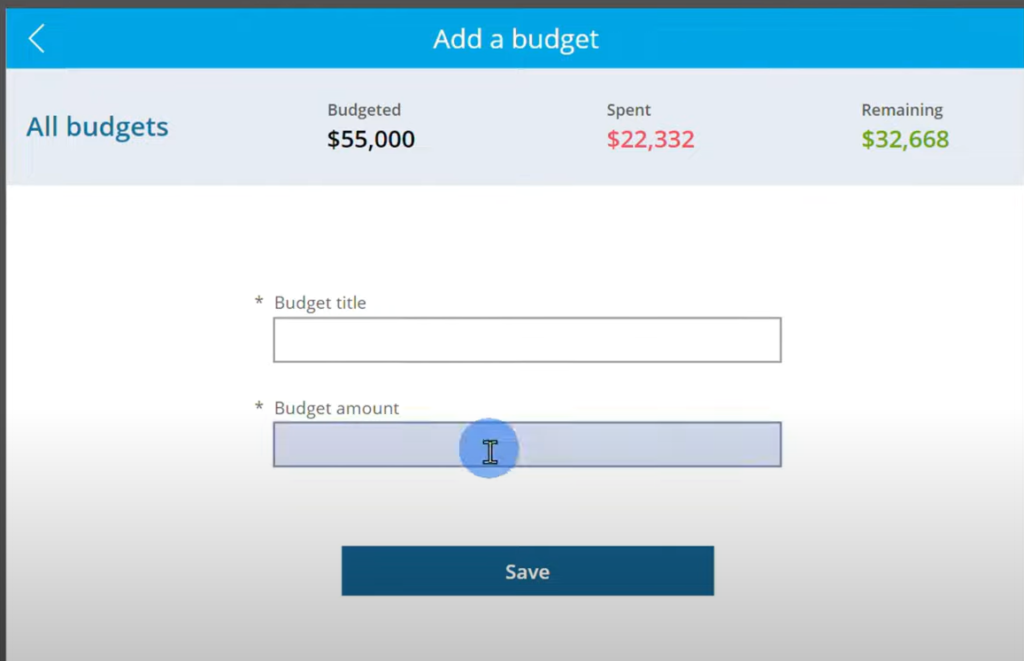
The top panel gives you a high level view of the total budget as well as the total expenditure and remaining budget.

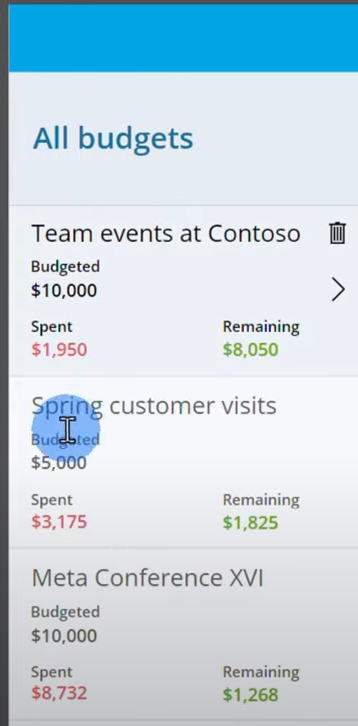
The left pane gives you the total budget, expenditure, and remaining budget per event or project.
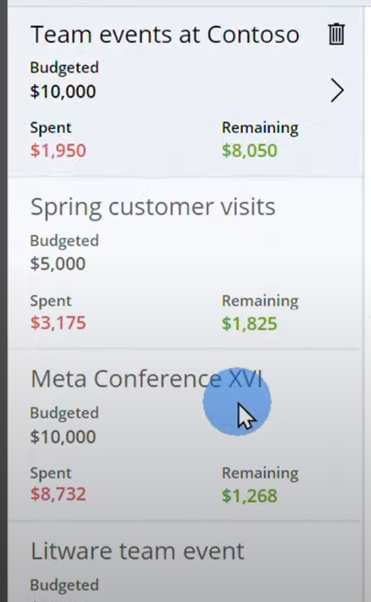
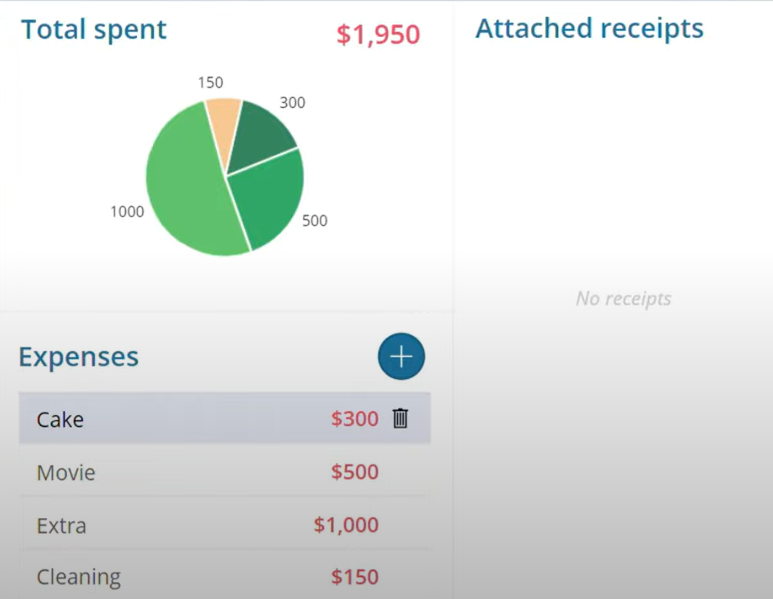
When you click one of the items on the left pane, you’ll see a pie chart report of where most of the budget went, as well as an itemized breakdown of the expenditure.
You’ll also see the attached receipts for each purchase or payment.
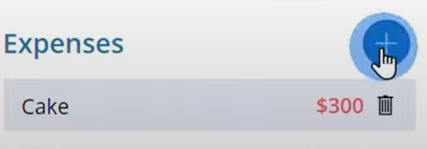
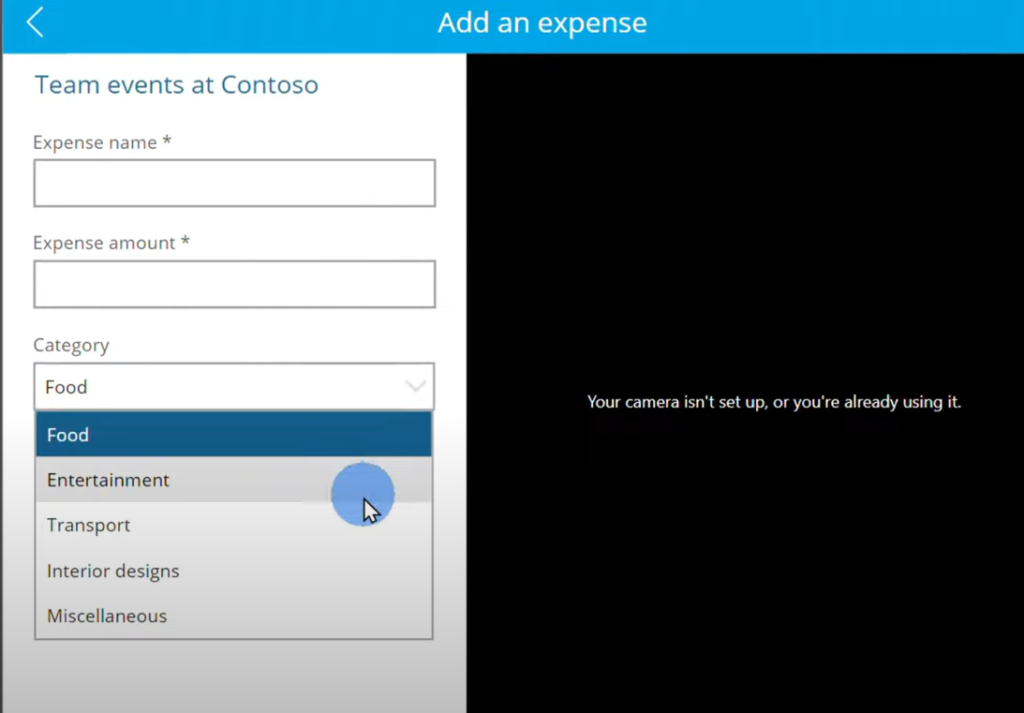
When you click the + sign, you can add another expense to the specific project or event.
Enter all details on the Add an Expense window and attach a photo of the receipt. You can also take a photo of the receipt directly through the application so it is automatically attached to the expense.
To add another project, activity or event, just click the + at the top right corner of the application window.
Enter the budget title and amount and click Save.
The new budget will be added to the All Budgets pane.
2. Service Desk
This application lets you track your helpdesk tickets and their status.
This is perfect for organizations that provide customer or technical support to its internal or external clients.
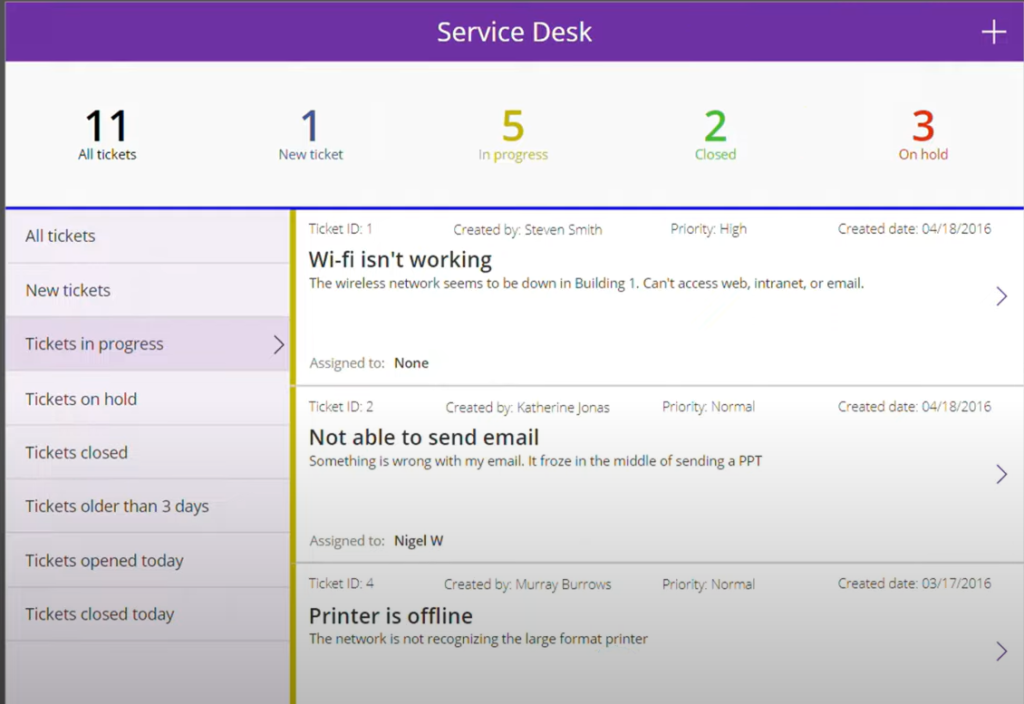
This Power Apps application has 3 panes only:
- Top Pane – Shows you the total number of tickets as well as the number of tickets per status.

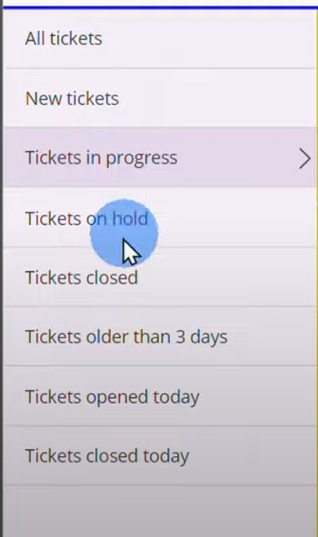
- Left Pane – Lets you see all tickets, and filter them according to status. Just click on All Tickets to see all tickets on queue, or click a status to see all tickets under a specific status.
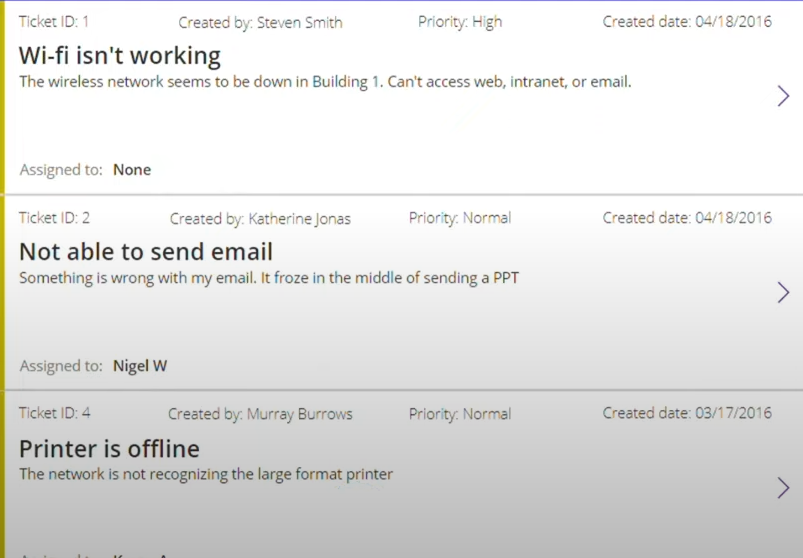
- Center Pane – The center pane lets you see all the tickets and their pertinent details, such as:
– Ticket ID
– Ticket Creator
– Priority
– Date of Creation
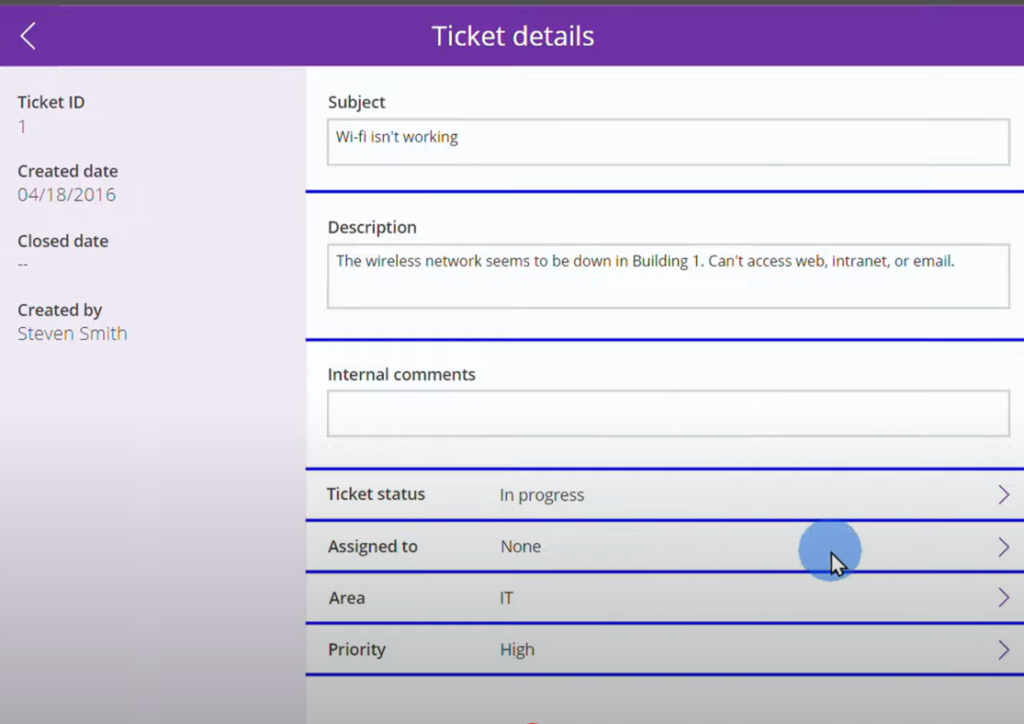
To update a ticket, or see its complete details, click on the ticket, update the details, then click Save.
3. Inventory Management
This application lets you monitor your store’s items and is a fit for small to medium enterprises needing a solution for tracking product inventory.
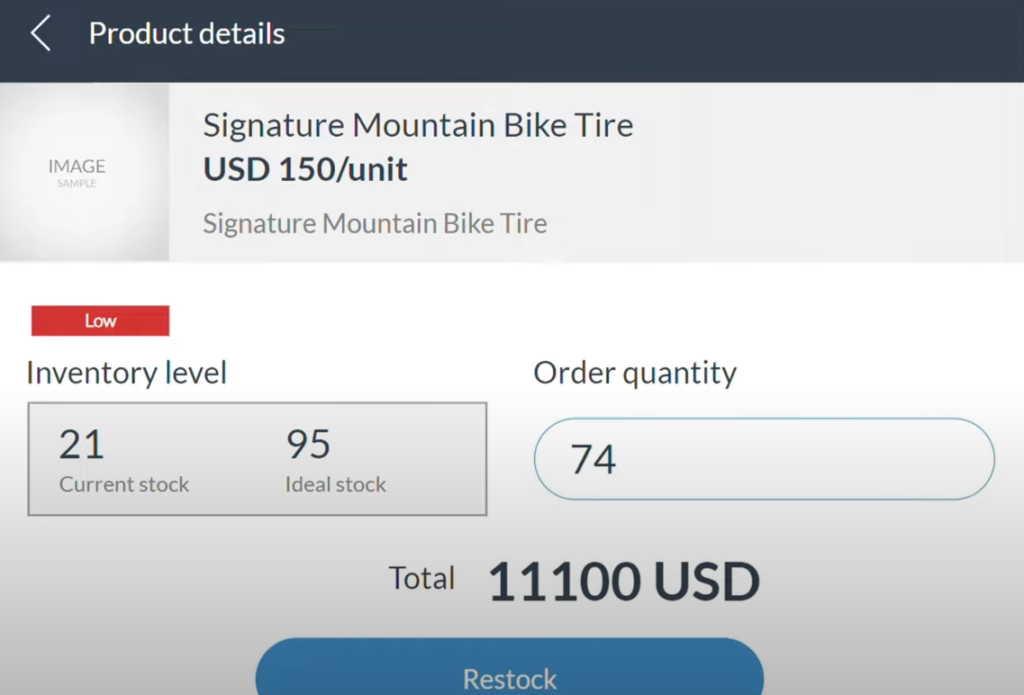
You can also order for restocking directly from the application itself.
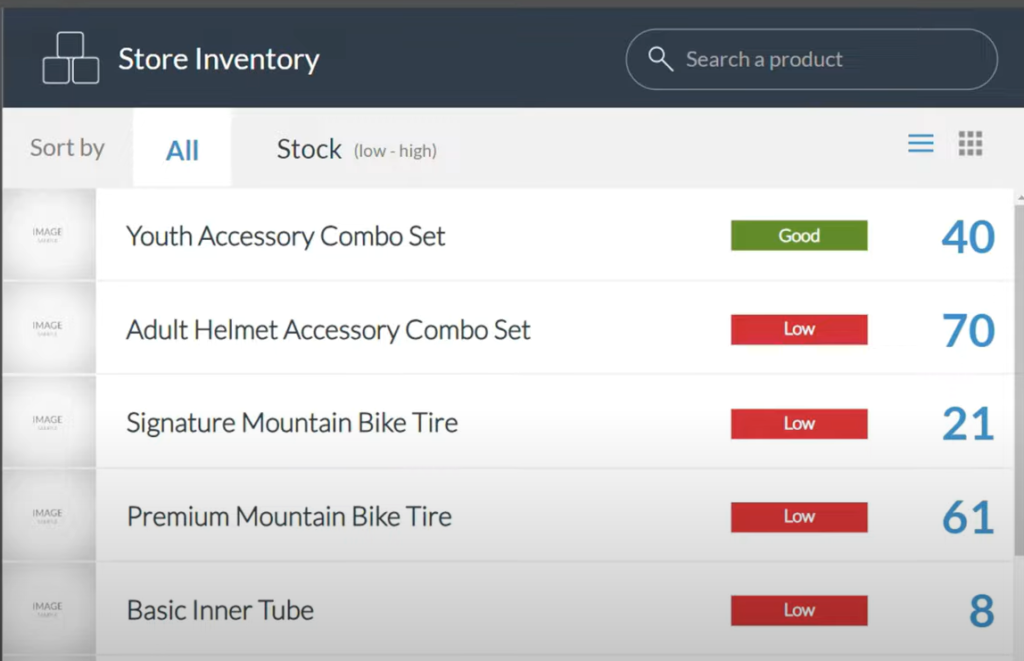
The application is straightforward. All of your items are in one (1) window and you can sort them according to how much stocks are left by clicking the Stock column.
You can also choose a line or a grid view by clicking these buttons.
This application also has a search function so you can look up specific items on your inventory. Just enter the item name and click the magnifying glass.
Clicking on the item allows you to see more details on the item. If you would like to restock, just click the Restock button to trigger purchase of the item.
4. Innovation Challenge
This application allows you to monitor all innovation ideas and their execution progress.
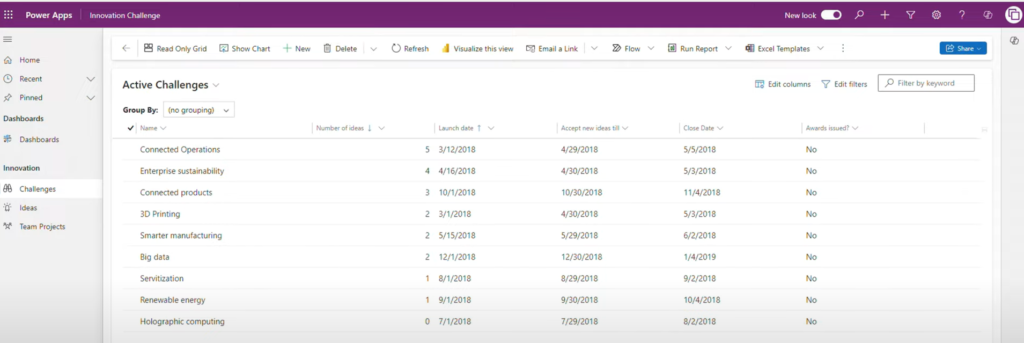
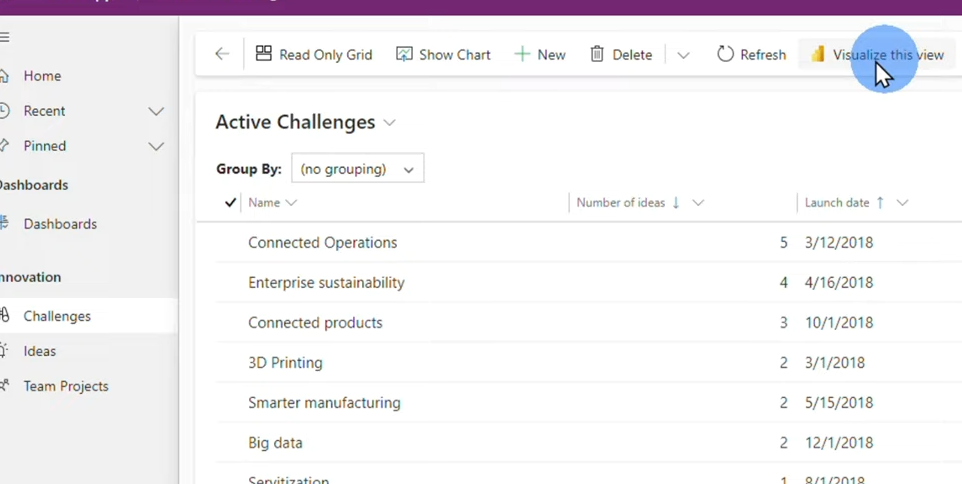
On the main page, you can see an overview of all the initiatives, their launch dates, the number ideas submitted for the initiative, the deadline for submission of ideas, and other pertinent details.
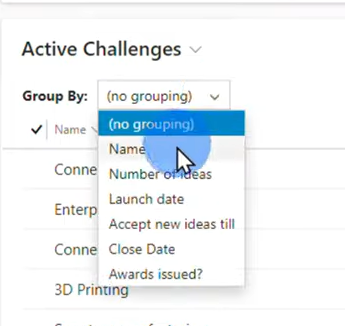
You can group them according to group type on the Group By drop-down menu.
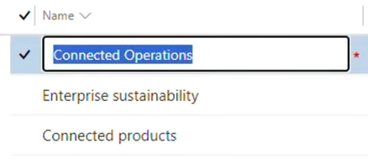
You can rename the initiative by clicking on its name.
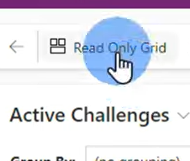
You can also lock the table by clicking the Read Only grid to avoid modifications on the existing initiatives.
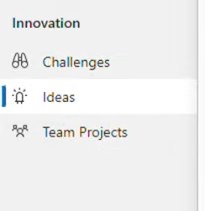
On the Innovation pane, you can view details of the challenges, ideas, and ongoing projects.
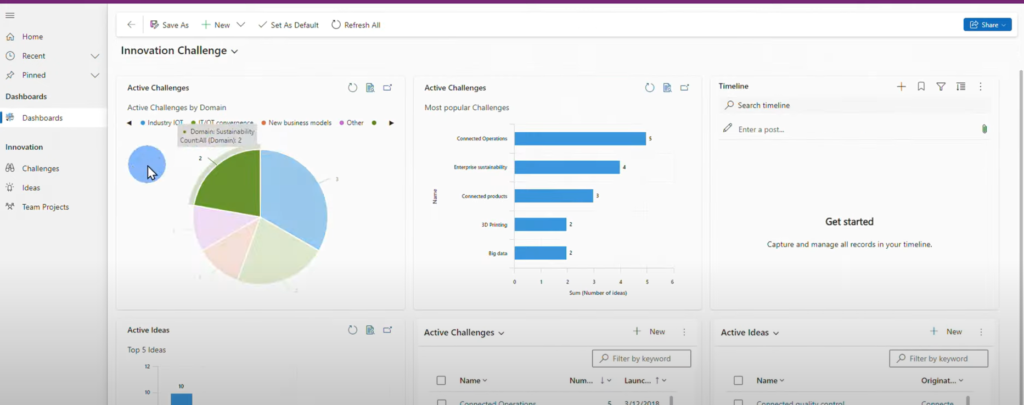
The Dashboards window lets you see visual reports on initiatives.
The Challenges window lets you generate reports on all challenges using Power BI by clicking Visualize this view.
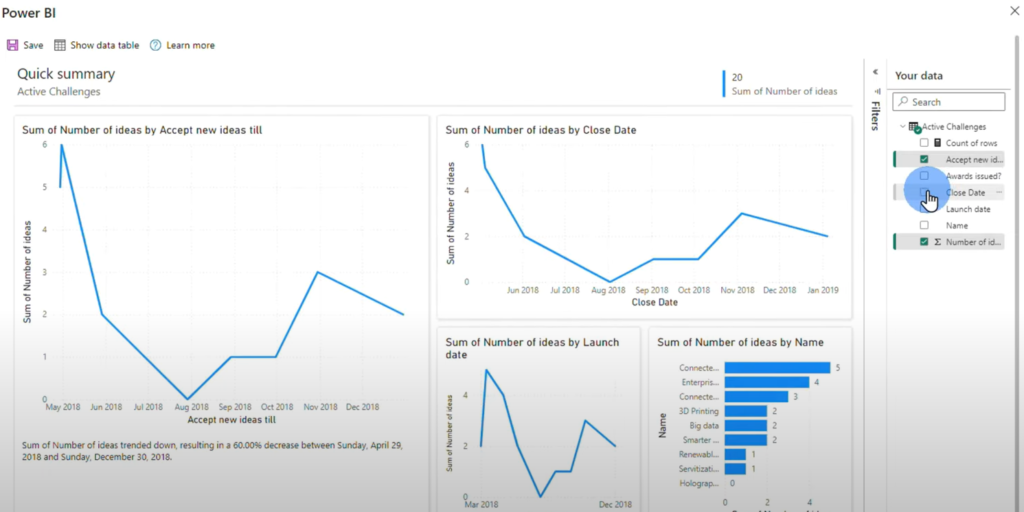
You can also generate custom reports by selecting the details you want to create a visual summary on.
5. My Expenses
This application is a great tool for managing budget requests for organizations.
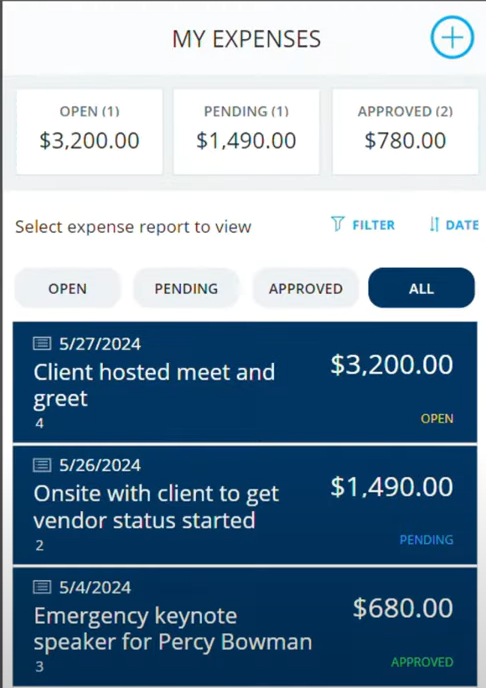
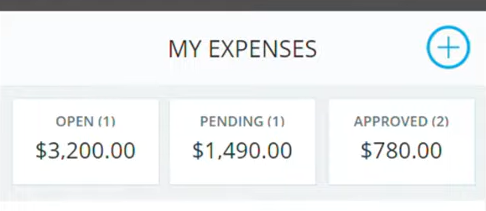
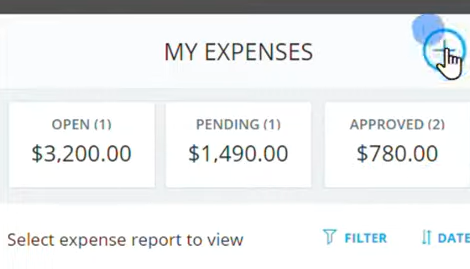
The top pane gives you an overview of all expense requests and their status.
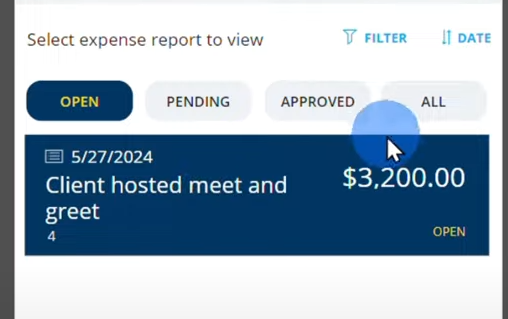
This section lets you filter expenses by their approval status.
You can sort the expense request by date by clicking the Date button.

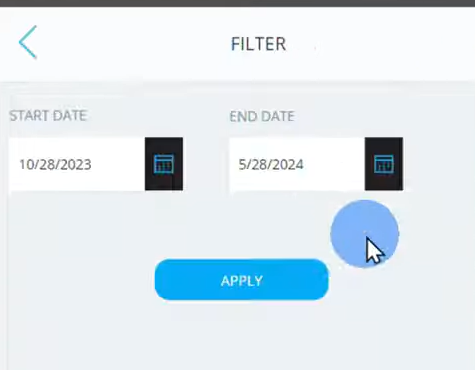
Clicking the Filter button allows you to limit the view on expense request by date range.
To add an expense request, just click the + at the top right of the application window.
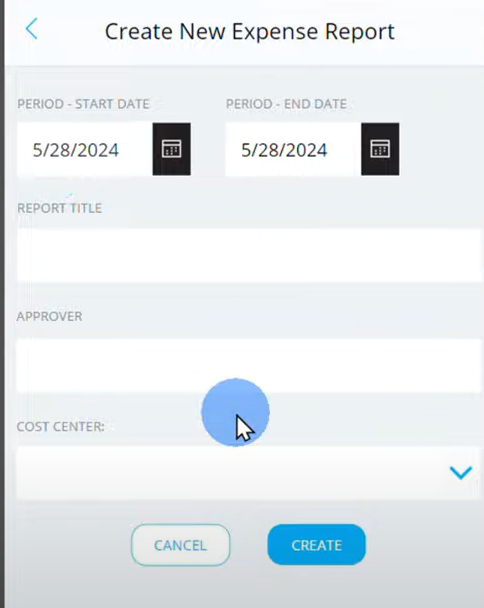
Just enter the expense request details and click Create to add them to the queue for approval.
6. Hotel Application
This application is built using Canvas Apps and it allows you to track which rooms are available for your potential guests.
It is a straightforward application that allows your concierge to check on available rooms and enter guest details for reservation or check in.
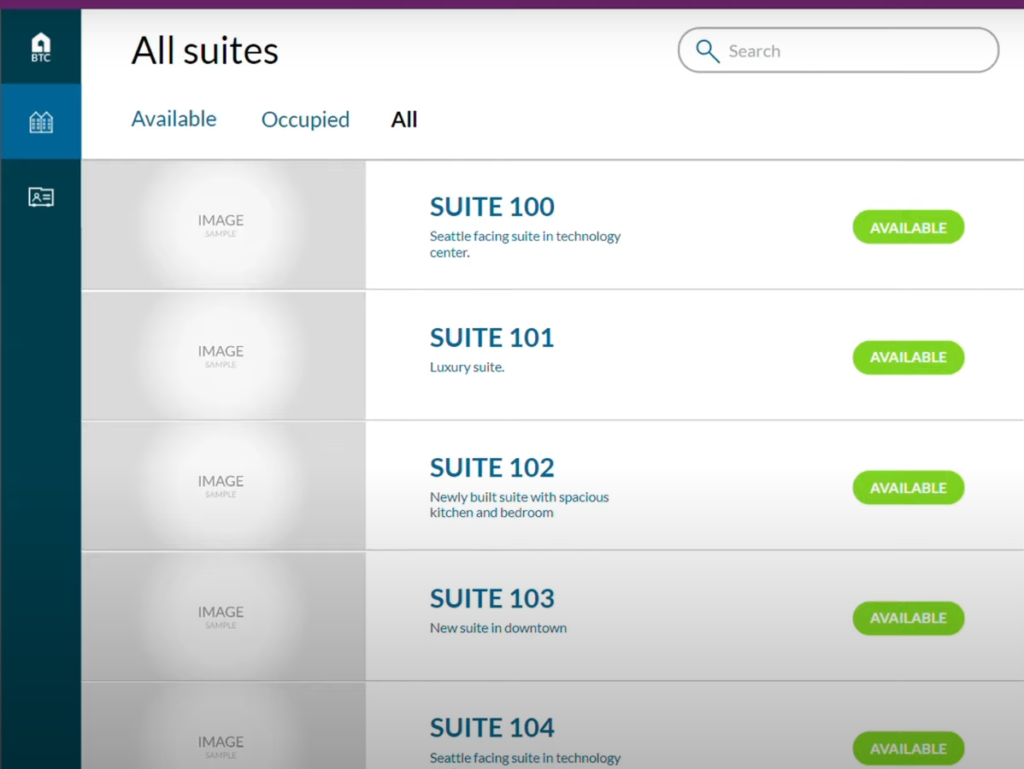
The top columns let you see all of the rooms in the hotel as well as which ones are available or occupied.

There’s also a search feature at the top-right corner of the application screen, where you can look up specific rooms or suites.

To make a reservation, click on the specific room or suite from the list of available rooms.

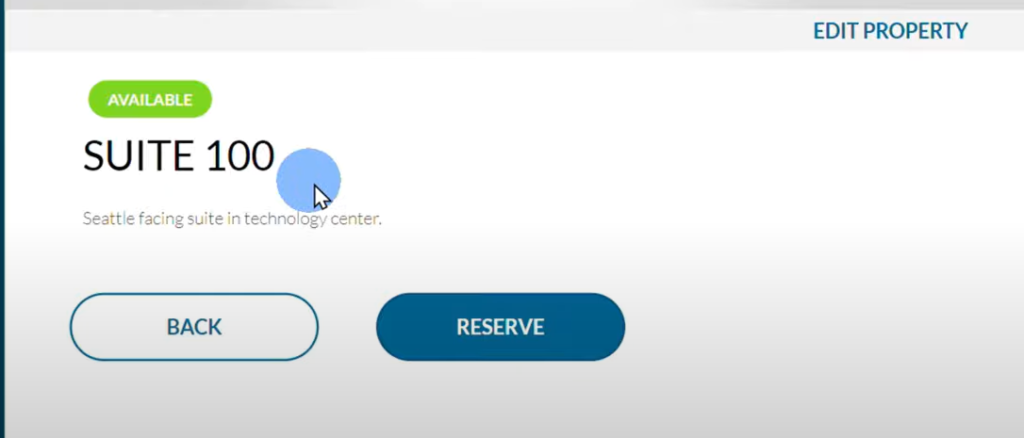
This page will give you 2 (two) options:
- Make a reservation – Click Reserve and enter all pertinent details of the guest.
- Edit Property – Click on Edit Property to modify the room or suite’s description and name.
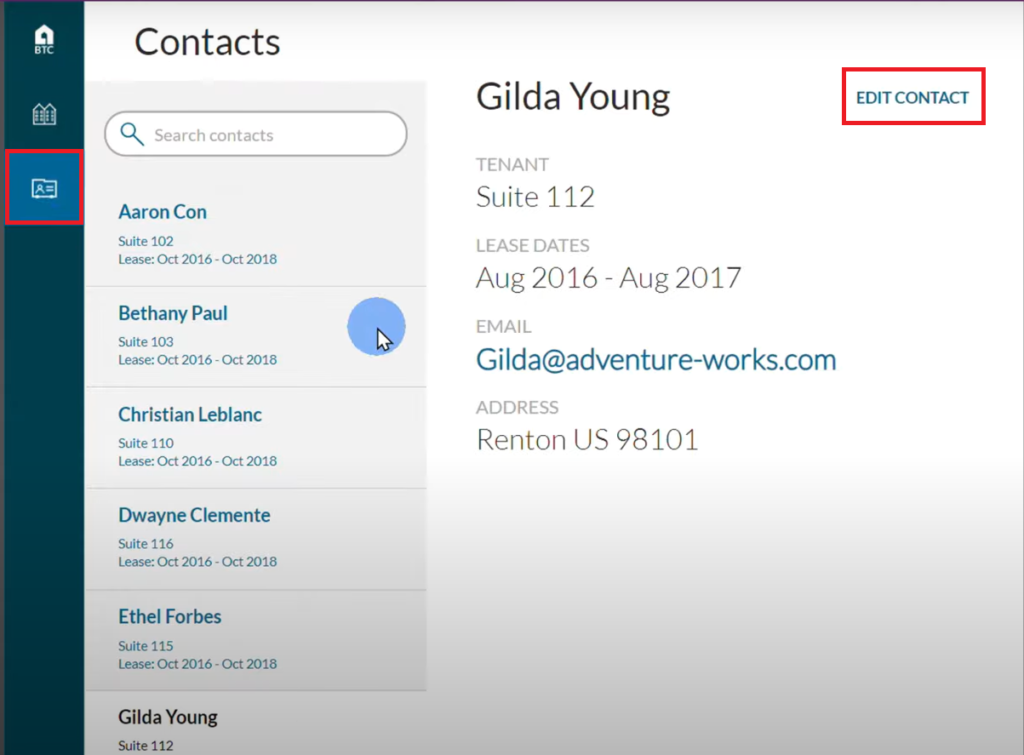
To access the guest details, click the Contacts tab.
This will show you all of the guests saved on the database and also allow you to modify their details.
You can also use the search bar to look up a specific guest.
7. Customer Success
This application lets you track your customers’ journey and monitor customer interaction.
This can help you find more opportunities for better engagement that could lead to more sales.

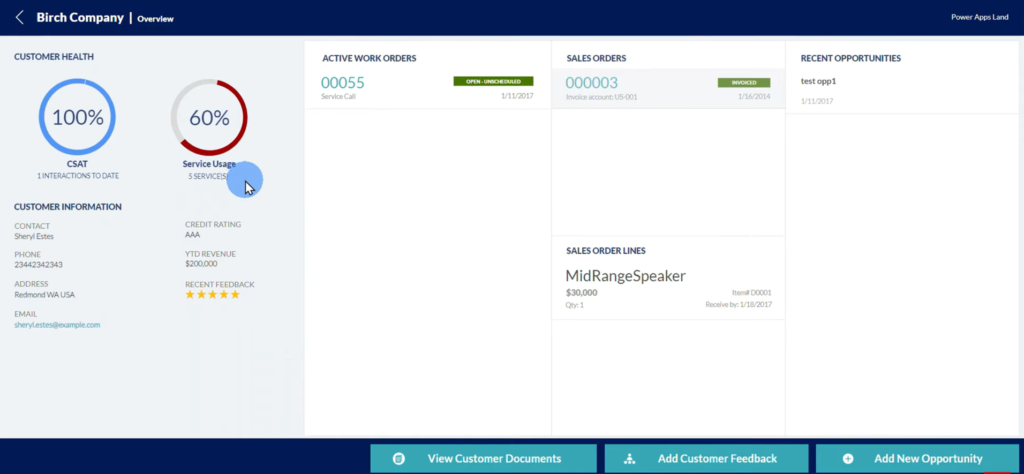
To check on a customer’s journey, click on one of the customers’ name on the list.
From this page, you can see the details of the customer’s interaction with your product or service, from feedback to past and active orders.
You can view the documents submitted by the customer, add their feedback, or new opportunities as well.
8. Flooring Cost Estimator
This application is service-specific as it calculates and sends out estimates for flooring installation.
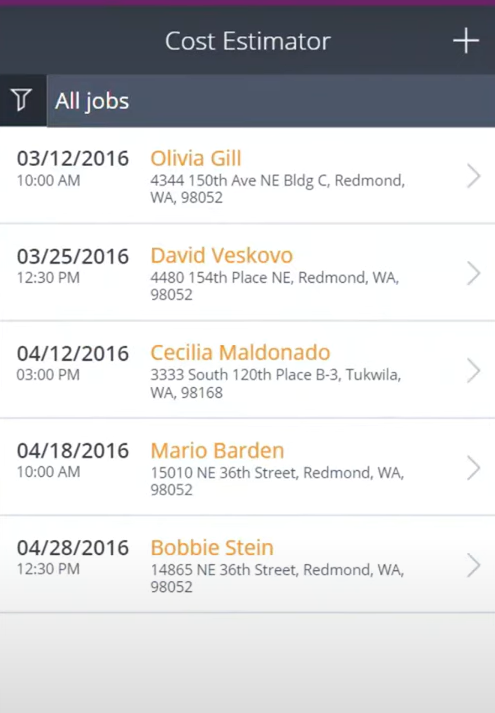
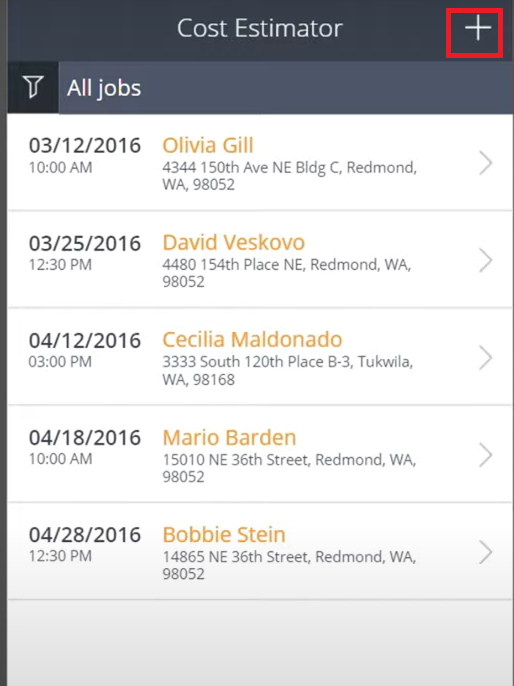
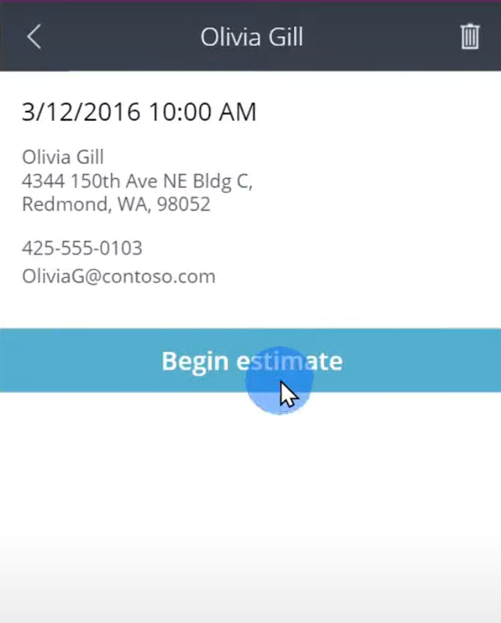
To add a customer to the database, you can click the + sign and fill in the pertinent details.
To calculate an estimate based on the customer preference, click on the customer > Begin Estimate.
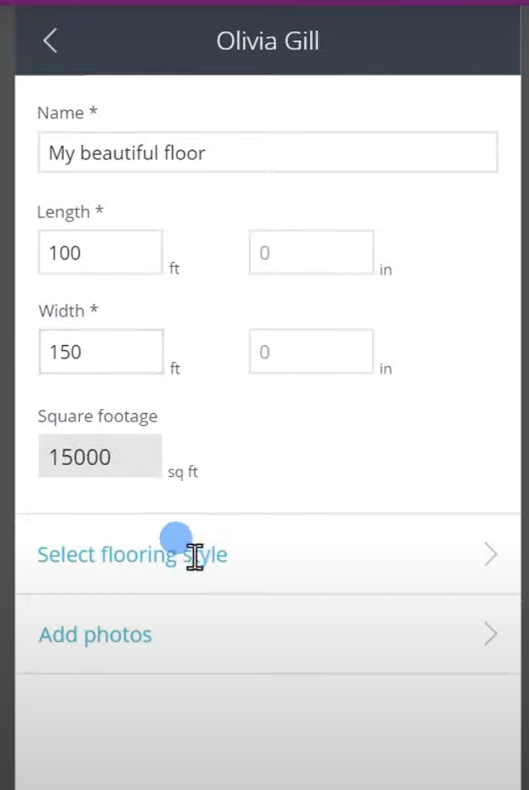
Add in the details and select floor type and variation.
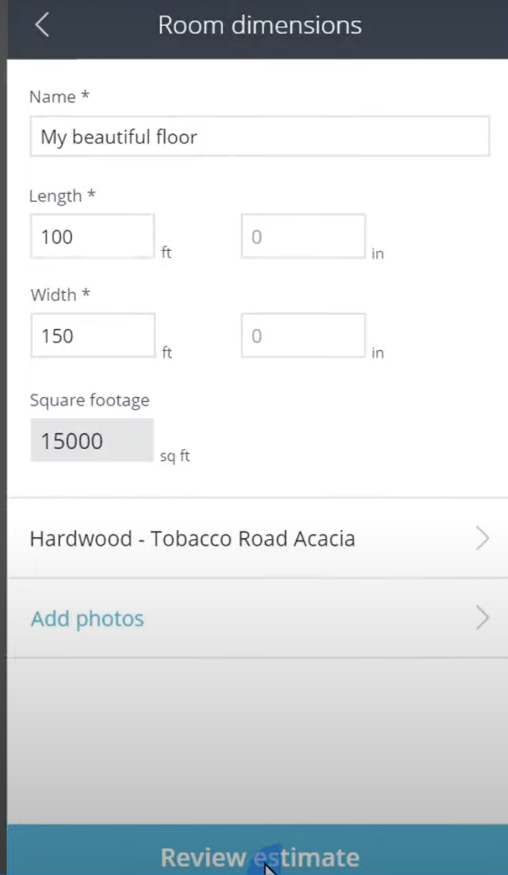
Once you have entered all pertinent details, click Review Estimate.
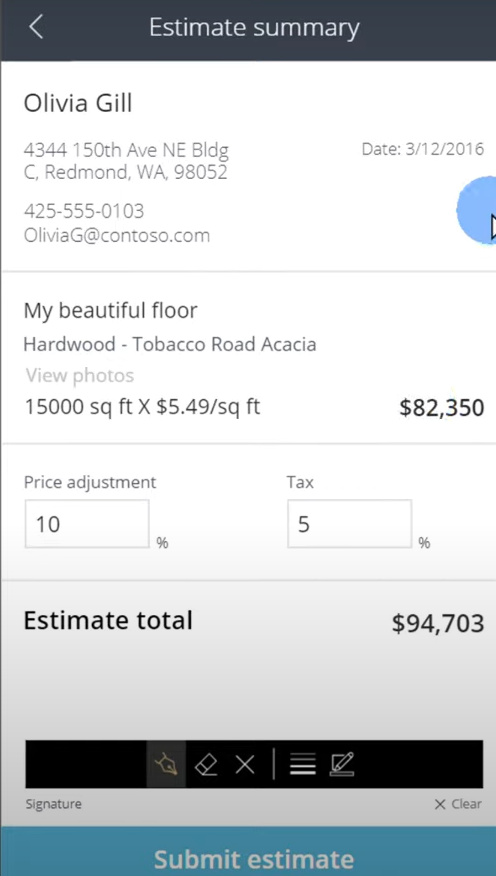
Once you have reviewed the estimate, you can go ahead and click Submit Estimate to finalize and send.
9. Asset Reservation
This application made using Model Driven App lets you monitor reservations for equipment and is a good choice if you are renting out devices or equipment, or if you want your back office to monitor reservations for office equipment and devices at work.
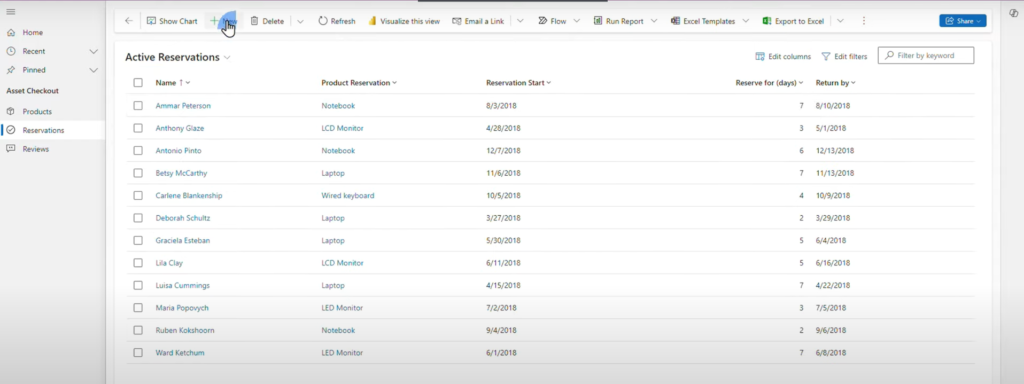
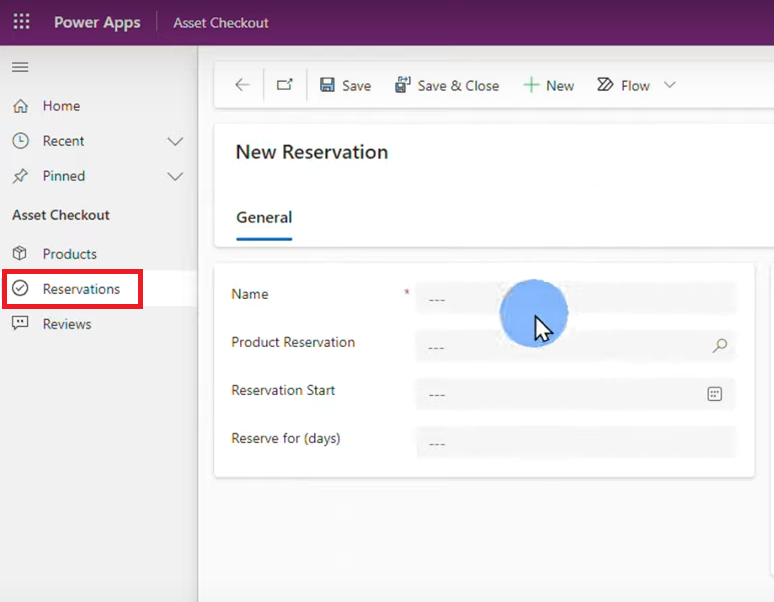
To make a new reservation, just click the Reservation tab on the left and fill in the details before saving.
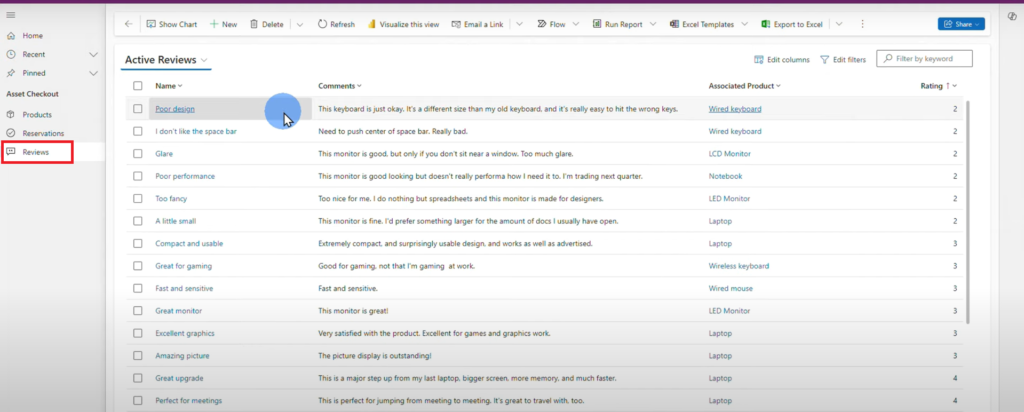
The reviews on the rented items can also be found in the reviews section of the app.
Just click the Reviews button to see all of the feedback on the devices rented.
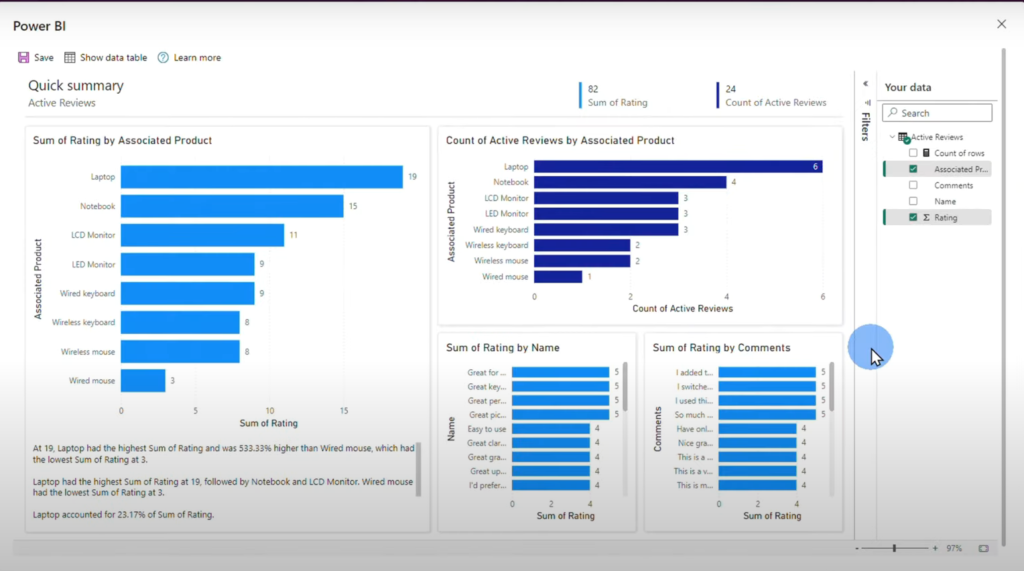
You can also view the Power BI summary report of the feedback of the rented items by clicking Visualize this View.
10. Helpdesk
This application allows you to submit or work on help desk tickets.
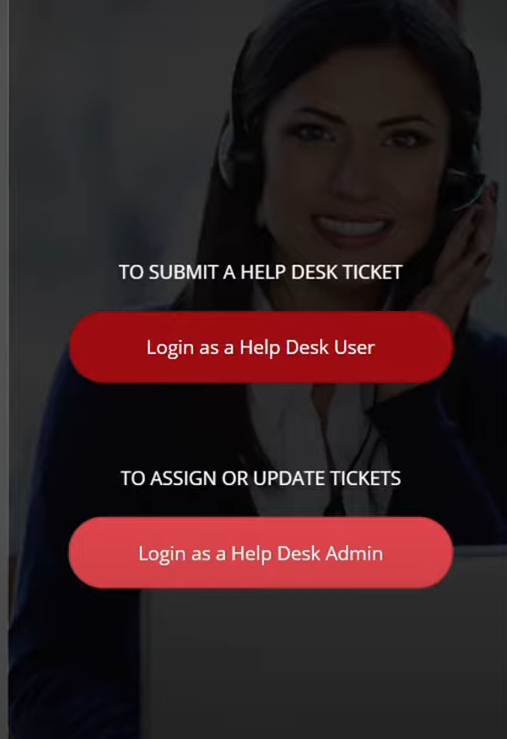
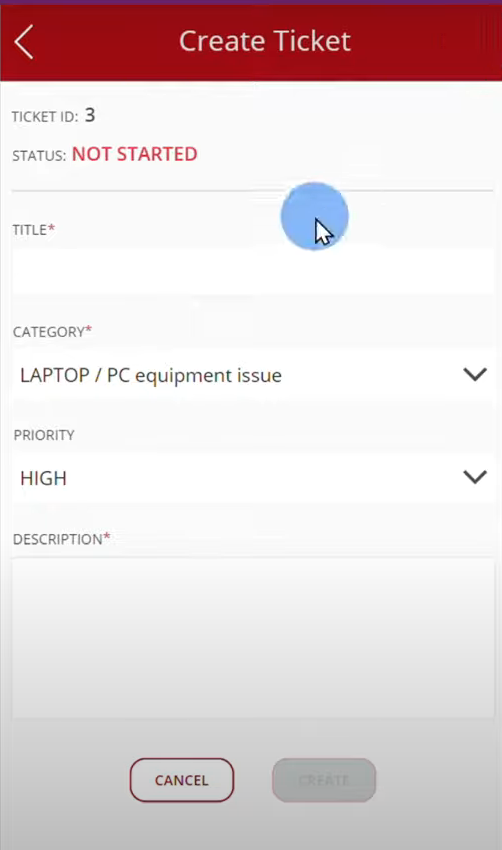
To submit a ticket as a Help Desk user, click Login as a Help Desk User then click the + sign. Enter all the details then click Create.
11. Leave Request
Here’s another back office application that you can use for your business.
This application allows employees to submit leave requests, or lets your managers view, approve, or decline them.
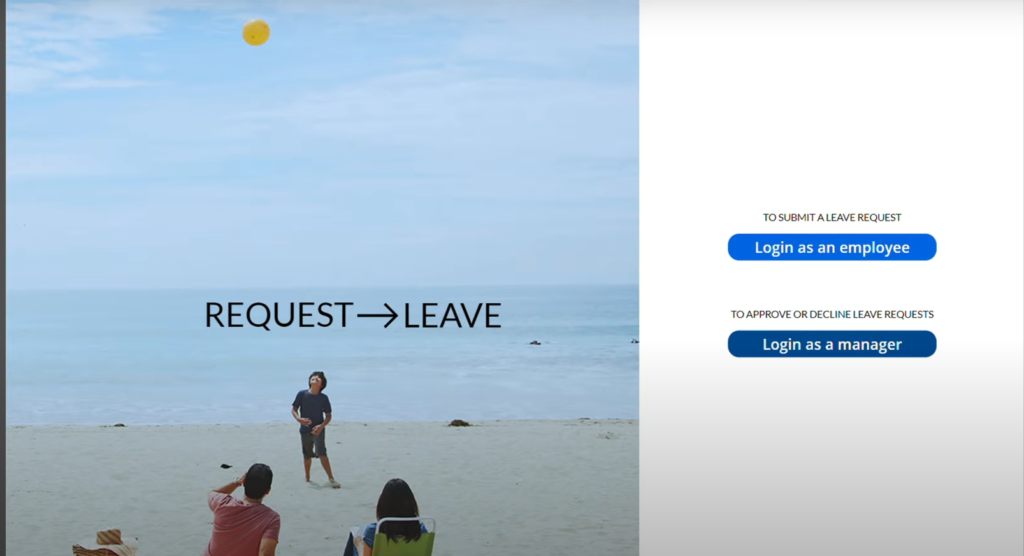
When you log-in as an employee, you can view all of your leave request and filter them according to their status (Pending, Approved or Declined).
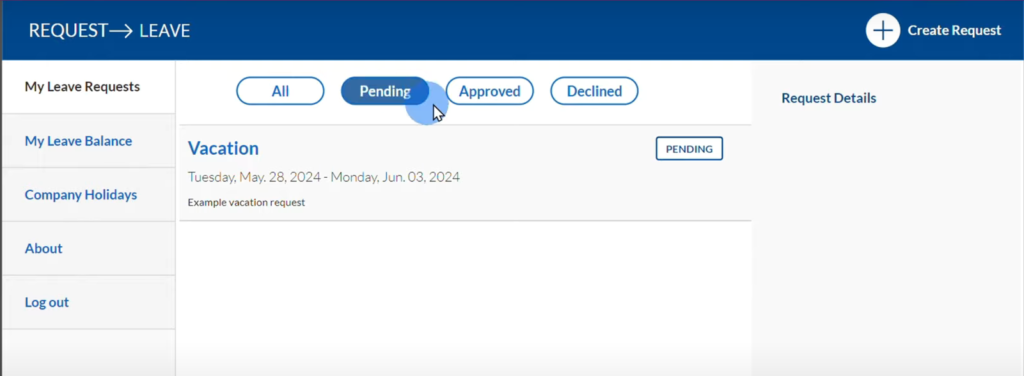
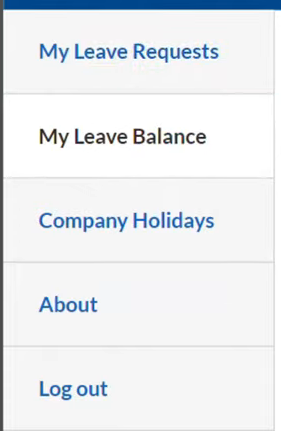
You can click on the menu items on the left to see your leave balance by type and company holidays.
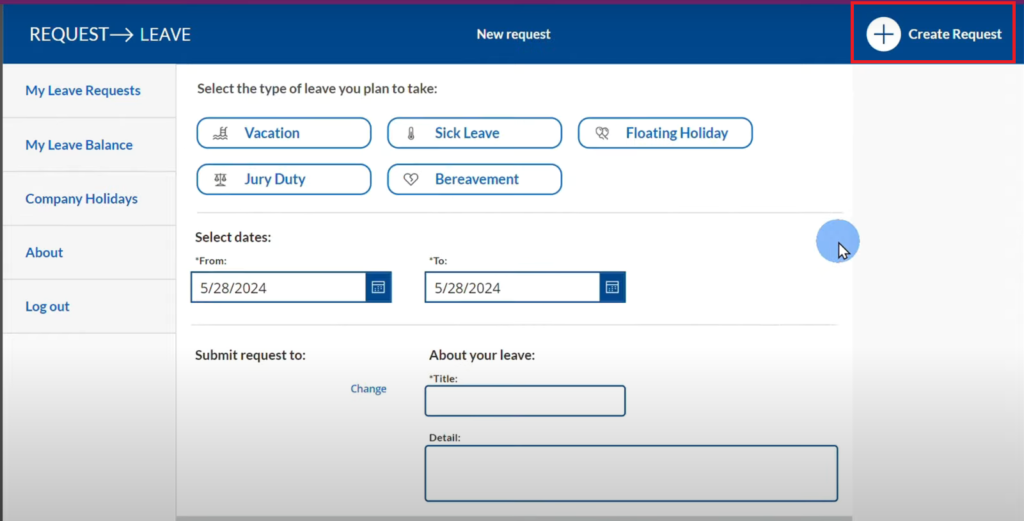
To create a leave request, simply click Create Request then fill in the details.
12. Fund Raiser
This Model Driven App allows you to monitor donations sent to your fund raisers.
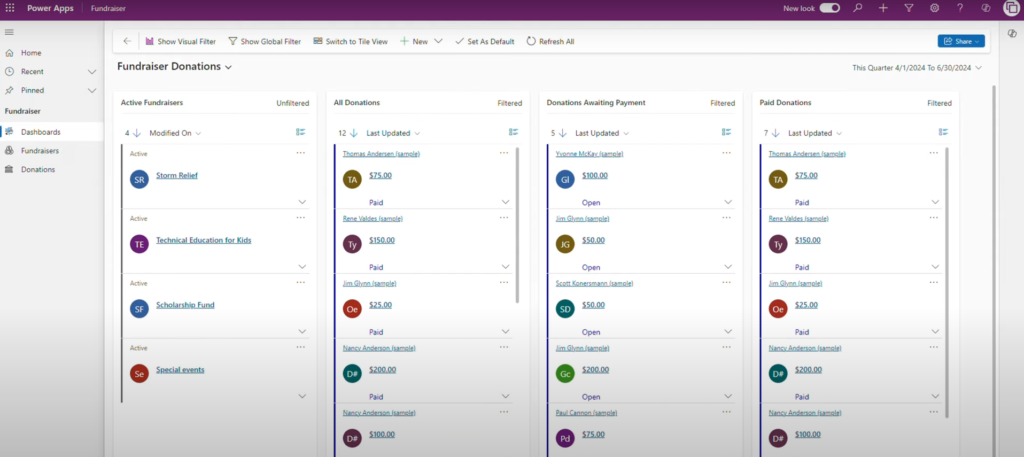
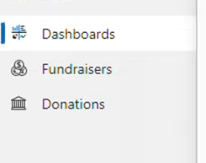
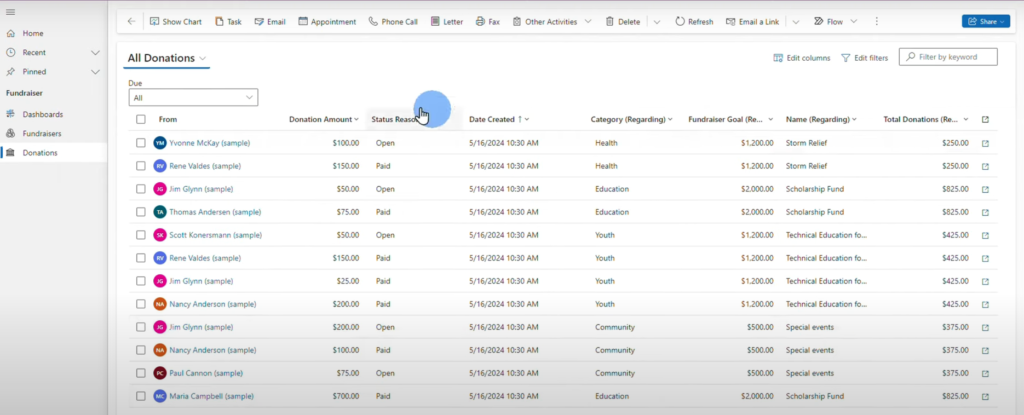
The left menu allows you to view your fund raisers and the donations going to specific fund raisers on your database.
The Visual Filter allows you to see summary charts on all fund raisers on your database.
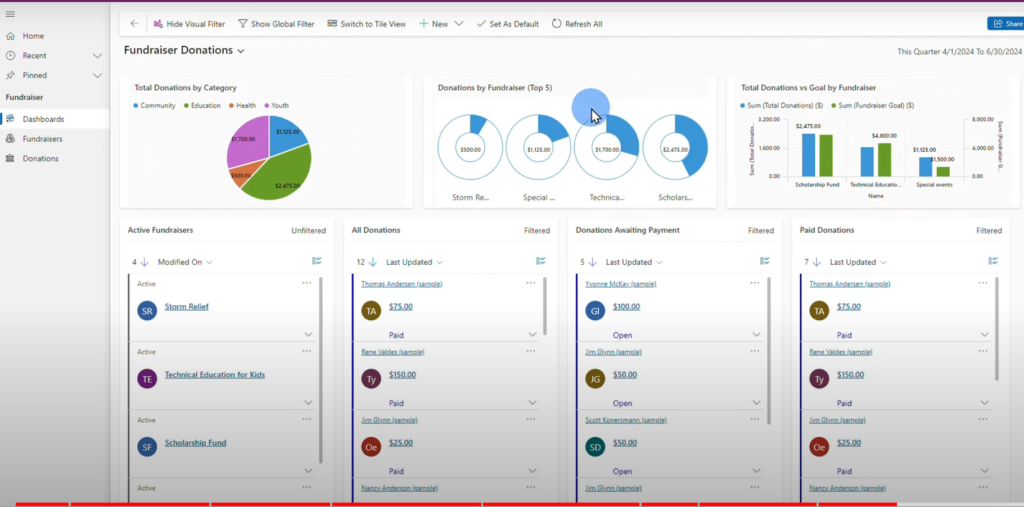
The Fund Raisers dashboard allows you to see all of your active fund raisers and the amount of donations they have received.

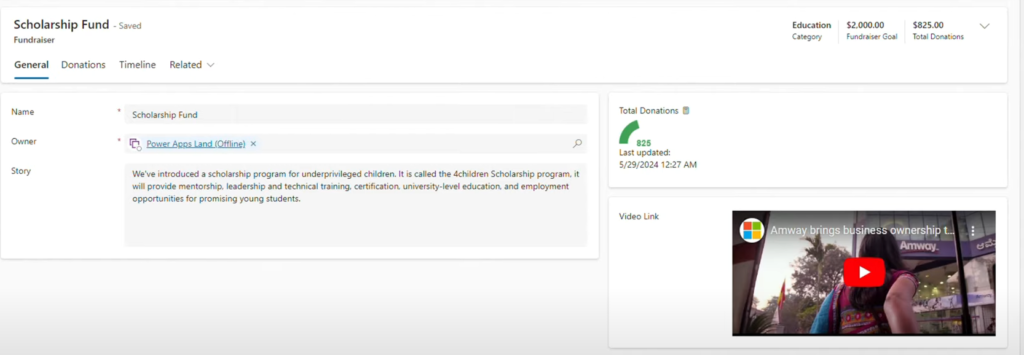
You can click on one of the fund raisers to view its details.
The Donations tab shows you all of the donations that piped in along with the name of the donor, the fund raiser it is donated to and the donation amount.
These are just some of the best examples of how you can use Power Apps to help you automate some of your business processes.
Which one do you like the most?

Leave a Comment